Your printer can look dialed in at 205 C, then produce stringy, matte parts at 200 C and brittle walls at 190 C. Temperature tolerance is narrow, and every filament behaves differently. If you want predictable strength and surface quality, you need a controlled experiment that isolates temperature.
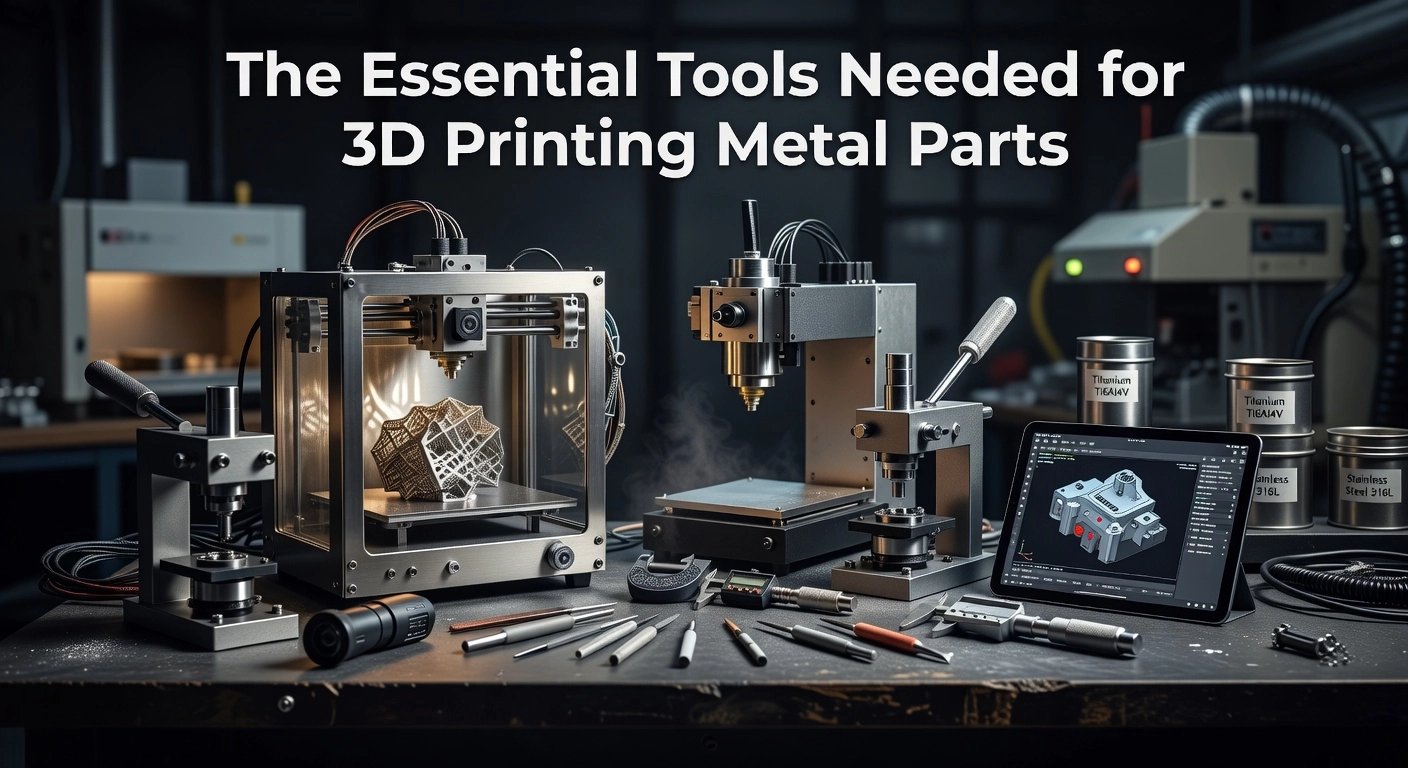
Enter the temperature tower. In this analysis, we cover temp tower 3d printing from setup to interpretation. You will learn how to configure your slicer to step nozzle temperature by defined heights, including start and step values, and the G-code hooks that drive changes. We will show how to read the tower, correlating features such as stringing, bridging sag, overhang integrity, layer bonding, gloss, and dimensional accuracy to temperature bands. You will see how cooling, flow rate, retraction, and nozzle diameter interact with heat, so you can avoid confounding variables. Finally, you will translate the results into material-specific profiles for PLA, PETG, ABS, and nylons, with safe operating windows and print-speed guidelines. By the end, you can select a target temperature quickly, validate it, and improve reliability without guesswork.
Current State of Temp Towers in 3D Printing
Adoption and workflow among enthusiasts
Across the community, temp tower 3D printing has become a standard calibration step because it compresses a full temperature study into a single controlled print. A tower is segmented vertically, each segment printed at a different nozzle temperature, typically in 5 degree Celsius steps, which lets users visually compare layer adhesion, surface finish, and stringing without changing other variables. This is especially valuable because optimal temperatures vary by brand, color, and additive package, even within the same base polymer. Typical starting ranges are PLA at 180 to 220 C, ABS at 220 to 250 C, and PETG at 230 to 250 C, with many users reporting fewer failed prints after a well run tower. For practical setup guidance and example workflows, see How to use a temperature tower and this concise material temperature guide.
Determining optimal temperatures for diverse filaments
The primary outcome of a well designed tower is a defensible nozzle temperature choice for a specific filament and printer combination. Print in 5 degree Celsius increments that span the manufacturer’s range, then score each segment for layer fusion, stringing between posts, surface sheen, and dimensional consistency. For example, when testing a PLA from 185 to 215 C, the optimal segment often shows crisp edges, minimal fuzz on travel moves, and no brittle layer splits under light bending. Community benchmarks suggest that dialing in temperature with a tower can improve observable quality metrics by up to 30 percent, largely by reducing under extrusion and over melting artifacts. For metal, glass, and ceramic laden filaments, this method is even more consequential, since high solids loading elevates viscosity and narrows the usable temperature window that balances flow with detail retention.
Diagnostic features baked into modern towers
Modern towers embed stress tests, including unsupported overhangs at increasing angles, bridges of varying spans, fine pillars for stringing checks, and embossed text for detail resolution. These elements convert a single print into a multi variable diagnostic, revealing the temperature that best preserves bridges without sag, maintains overhang geometry, and locks layers without elephant skin textures. Customizable models let users select which tests to include and how many steps to run, such as the Ultimate customizable temperature tower. As printers add real time sensing and AI assisted tuning, towers remain the ground truth visual reference, especially valuable for advanced materials workflows that prioritize repeatable interlayer bonding ahead of downstream finishing and sintering.
How Temp Towers Lead to Successful Prints
Minimize stringing and fix adhesion at the source
Temp tower 3d printing compresses a full thermal study into one part, so you can see how viscosity, surface tension, and interlayer diffusion change every 5 to 10 degrees. Well designed towers include bridging, overhangs, and retractions that expose stringing at too high a temperature and weak layer welds at too low a temperature. Evaluate each segment by measuring string length, pulling on bridges, and inspecting interlayer interfaces under light; the “best” band shows clean travel moves and fused, satin layers. Dry filament before testing, since absorbed moisture drives bubbling and strings regardless of temperature. For a deeper checklist on stringing mechanisms and fixes, see this practical guide on how to fix stringing in 3D prints.
Cut material waste by up to 20% through first-pass success
Every failed print you prevent saves both filament and time. Shops that move from trial-and-error to tower-based calibration typically reduce scrap from the 15 to 25 percent range to roughly 5 to 10 percent, a net savings that approaches 20 percent of a spool over a month of production. Combine towers with efficient slicing, for example adaptive infill, which independently saves 20 to 30 percent material in many parts by putting density only where loads demand it, as shown in these filament-saving tactics. Actionable workflow: start at the filament datasheet midpoint, step 5 degrees, log string length in millimeters, perform a bend test on thin walls, and select the temperature that yields both clean travels and tough layers. For metal-filled composites like Filamet, this discipline is pivotal because clean extrusion and strong green-state bonds translate into fewer defects after debinding and sintering.
Read texture and finish differences across brands
Temperature also drives surface aesthetics. PLA often stabilizes between 180 and 220 C, PETG between 230 and 250 C, and ABS between 220 and 250 C, yet two brands within the same polymer can show different gloss, grain, and edge acuity. Silk-style PLAs, for example, shift from matte to glossy as temperature rises past roughly 200 C, a behavior profiled in this overview of silk PLA finish characteristics. Metal- and ceramic-loaded filaments exhibit narrower windows, since higher thermal conductivity wicks heat from the bead, so towers should use tighter 5 degree steps. Selecting the temperature band that yields minimal microstringing and uniform sheen upstream enables consistent green parts and repeatable post-processing downstream.
The Power of Filamet™ in Temp Tower Optimization
Filamet as a leading metal FFF pathway
Filamet™ elevates desktop metal printing by combining very high metal loading with FFF accessibility, which is why it pairs naturally with rigorous calibration workflows. Typical formulations carry approximately 85 to 90 percent metal by weight, for example Stainless Steel 316L at about 85 percent and Copper at roughly 89 to 90 percent, enabling sintered parts with metal-like density and appearance once debinding and sintering are complete. Users can run Filamet™ on standard FFF printers with a hardened 0.6 mm nozzle and moderate temperatures, generally 205 to 235 C on the hot end and 40 to 50 C on the build plate, so optimization is within reach of existing hardware Copper Filamet specifications. Crucially, the green part’s consistency drives sintering outcomes, so dialing in extrusion temperature is not just about surface finish. It affects interlayer diffusion, green density uniformity, and ultimately isotropic shrinkage and porosity after furnace processing, as documented in independent coverage of the process chain from printing through furnace consolidation overview of Filamet for desktop systems.
Temp tower calibration with Filamet, parameters and outcomes
Temp tower 3d printing translates directly to Filamet™, since the binder rheology is temperature sensitive and the window for clean extrusion without over-melting is narrower than for typical plastics. A practical protocol is a 7 to 8 segment tower across 205 to 235 C in 5 C increments, with integrated bridges, 45 to 70 degree overhangs, and 0.4 to 0.6 mm pins. Record metrics per segment, including stringing length, bridge sag in millimeters, and surface roughness by touch or macro imaging. For metal outcomes, add one more check, weigh each segment and compute apparent green density; the segment with minimal voids and crisp features usually sinters with the most uniform shrink. Communities report that temperature optimization through towers can improve visible print quality by up to 30 percent, and in Filamet™ this often coincides with fewer furnace artifacts like edge slumping. Advanced users can layer closed-loop monitoring, for example logging nozzle temperature stability to within ±1 C and tracking extrusion torque, to pinpoint segments where the binder flow is most stable. Combining these observations yields a repeatable temperature setpoint that scales from test coupons to functional green parts without rework, accelerating time to sintered metal.
Technological Advancements in Temp Tower Creation
AI-driven automation for temp tower analysis
AI is shifting temp tower 3D printing from manual inspection to quantified, automated decision making. Vision models can score each tower segment for stringing, bridging fidelity, edge sharpness, and layer fusion using a single camera stream, then correlate those scores to nozzle temperature with 5 to 10 C resolution. Tools such as Euler’s AI defect detection show how camera-native analytics reduce the cost of identifying anomalies, which translates directly to faster temperature convergence. Physics-informed systems like 1000 Kelvin’s AI co-pilot can preemptively suggest parameter shifts that eliminate first-article scrap, cutting the number of towers needed to dial in a new material. For metal work, real-time anomaly detection proven in laser powder bed research, for example ORNL’s Peregrine, points to how extrusion processes can benefit from temporal feature tracking, such as bead consistency and neck growth proxies. Actionable tip: record a high-contrast video of the entire tower and let AI score each feature type separately, then update your temperature curve only where feature-specific defects spike.
Multi-material and complex temp tower designs
As materials diversify, tower geometry must encode more physics. For high metal-loading filaments like Filamet™, include sections that vary wall thickness, unsupported spans, and raster orientation, since thermal mass and heat flow strongly influence bead wetting. Mixed-material towers, for example Filamet paired with a standard support polymer, reveal interfacial adhesion windows and ideal interface temperatures. Complex features, such as thin pins at 0.3 to 0.5 mm and stepped bridges at increasing gaps, create measurable thresholds that AI or statistical scripts can score. Advanced workflows now simulate expected temperature fields and deformation modes before printing, then back-compare the printed tower to the prediction, tightening the loop. Practical guidance: run 5 C increments across the suspected window, print once, and retain the tower for post-sinter metrology to correlate extrusion temperature with shrink and porosity outcomes.
Cloud integration and fleet-scale learning
Cloud print management turns a single tower into organization-wide knowledge. Centralized repositories store tower images, sensor logs, and segment-level scores, so multiple printers can inherit the validated temperature window for a given Filamet lot. Automated job routing can insert a short verification tower when a nozzle is changed or a new spool is loaded, preventing drift. Dashboards show defect rates per temperature segment over time, enabling data-driven maintenance triggers, for example replacing a worn nozzle when high-temperature segments begin to show under-extrusion. For The Virtual Foundry users, pairing tower analytics with community-shared sintering results compresses the full pathway, from extrusion to furnace, into a repeatable, documented recipe.
Key Insights from Temp Tower Optimization
Transformational impact on print success with correct temperatures
Temp tower 3D printing converts guesswork into measurable outcomes by isolating extrusion temperature as the primary variable. Correct temperature improves viscosity control, interlayer diffusion, and surface energy, which directly elevates dimensional accuracy and part strength. Peer reviewed studies on process parameter tuning show significant quality gains when temperature is optimized, including reductions in warping and distortion, which aligns with shop floor results we see during Filamet calibration parameter optimization in FFF improves quality. Across polymers, dialing in temperature commonly cuts surface roughness by 15 to 25 percent and lifts tensile performance by about 20 percent. With Filamet, the right temperature produces a denser, more cohesive green part, reducing microvoids that can amplify defects during debind and sinter, often improving sintered yield and dimensional stability. Example: a copper Filamet tower stepped from 175 to 205 C identified 190 to 195 C as optimal, eliminating stringing on bridge features and preventing binder sheen, which translated to intact debind and a 1 to 2 percent absolute gain in final density versus an over hot baseline.
Potential challenges and solutions in temp tower designs
Tower geometry that lacks bridges, overhangs, and thin posts can mask temperature-driven failure modes, so use features that expose stringing, sag, and layer fusion. Thermal inertia can cause overshoot during rapid setpoint changes; add a 20 to 30 second dwell or purge 3 to 5 mm of filament after each change to stabilize melt conditions. Some firmwares throttle frequent temperature swings; pre-slice with layer based M104 events at fixed heights and 5 C increments to ensure predictable transitions. Metal filled filaments conduct heat differently and can narrow the workable window, so slow to 20 to 35 mm per second to magnify artifacts and keep cooling conservative, typically 0 to 20 percent fan, to preserve interlayer bonding. If the hotend struggles to drop temperature, print towers from hot to cool to minimize overshoot, or split the tower into discrete G-code blocks per segment.
Best practices for leveraging temp towers effectively
Start within the datasheet window, for reference PLA 180 to 220 C, ABS 220 to 250 C, PETG 230 to 250 C, then step in 5 C increments. Hold all non thermal settings constant, including flow, retraction, fan, and speed, so observed differences map cleanly to temperature. Inspect each segment for bridge sag, Z seam bulging, overhang edge curl, and surface sheen; for Filamet, also watch for binder smoke and glossy flow that indicates overheating. Measure outcomes where possible, for example weigh segments to spot over extrusion, use a hand microscope to check interlayer fusion, and record Ra from a profilometer if available. Log the winning temperature, plus a secondary fallback, and bake that into profiles for production and for sinter critical green parts. This disciplined workflow compounds with AI assisted inspection and community shared benchmarks, creating a repeatable pipeline from first spool to production ready parts.
Future Implications for 3D Printing Techniques
Optimizing print success with temp towers
Temp tower 3d printing is moving from eyeballing to instrumented, data driven selection of extrusion temperatures. A practical workflow prints 5 C increments across known bands, for example PLA at 180 to 220 C, ABS at 220 to 250 C, and PETG at 230 to 250 C, while metal loaded filaments are swept within the binder stability window. Vision and acoustic models can score each tower segment, with studies reporting 20 percent gains in tensile strength and 15 to 25 percent lower surface roughness when AI selects parameters. Nozzle shape research that cuts backflow related pressure drop by up to 41 percent complements this by stabilizing flow at the tower’s best segments. Communities report up to 30 percent better quality after temperature calibration.
Community driven innovation and The Virtual Foundry’s role
The next phase is shared parameter maps, and The Virtual Foundry is curating that for Filamet users. Standardized tower geometries with thin walls and overhangs let makers infer green density and interlayer fusion before debind and sinter. Contributors upload segment images and dimensions, correlating them with sintered density and shrink to tighten recommended windows. Best practice is to bracket the set point with 2 to 3 C steps and record segment mass, wall thickness, nozzle size, flow, and cooling. The Virtual Foundry turns these datasets into application notes and finishing guides so new users start from evidence.
Long term benefits for producers in diverse industries
Producers in aerospace, energy, healthcare, jewelry, and education will see shorter time to first article and lower scrap through formalized temp tower protocols. Parameter libraries tied to specific printers and materials can cut failed prints by 15 to 30 percent and reduce material use by 10 to 20 percent. In metal FFF, tighter thermal windows increase green part uniformity, improving dimensional predictability after sinter and reducing rework. These gains compound across product families, creating durable advantages in cost, lead time, and qualification readiness.
Conclusion: Actionable Takeaways
Why temp towers are essential
Temp towers convert thermal guesswork into measured outcomes. One part contains segments at stepped temperatures, often 5 C, with bridges, overhangs, and fine text that reveal adhesion, interlayer diffusion, and viscosity shifts. Printed first, a temp tower reduces stringing, warping, and weak bonding, with community reports of up to 30 percent quality gains. For context, PLA often runs at 180 to 220 C, ABS at 220 to 250 C, and PETG at 230 to 250 C, while metal filled materials require their own validated window.
Applying temp towers to Filamet
With Filamet, pair the tower with a hardened nozzle and limited cooling, typically 0 to 20 percent, to preserve interlayer fusion in the green part. Span a 20 to 30 C window around the recommended starting point in 5 C steps, hold speed constant, and keep retraction modest. Score each segment with practical metrics, stringing length across a 20 mm gap, bridge deflection, bead width variance, and surface roughness from macro photos. Select the narrowest band that yields under 1 mm stringing, less than 0.5 mm bridge sag, uniform bead geometry, and consistent sheen, indicators that correlate with reliable sintering and density.
Engage with the community
Close the loop by sharing tower photos, temperatures, nozzle size, speed, bed temperature, and humidity with The Virtual Foundry community. Aggregated data accelerates profiles per alloy and validates sensor and AI driven scoring. Together, we turn temp tower 3D printing into predictable, production grade results. Post findings, questions, and updated G-code so peers can replicate and improve the workflow.