Imagine holding a part you sketched this morning, only now it is solid metal. That is the pull of metal 3D printing, and it is more beginner friendly than you might think. If you just unboxed your first machine and are wondering, i got a 3d printer now what, this guide will show the path from idea to strong, shiny hardware.
We will keep it simple. You will learn how metal 3D printing works, the key options from desktop kits to pro services, and how to pick the right route. We will cover common materials, basic design rules, and safety tips. You will see how to prep a model, set supports, and plan for post processing like sintering or polishing. We will flag common beginner mistakes and give you a starter workflow you can follow today. By the end, you will know what it costs, what tools to try, and how to print your first metal part with confidence.
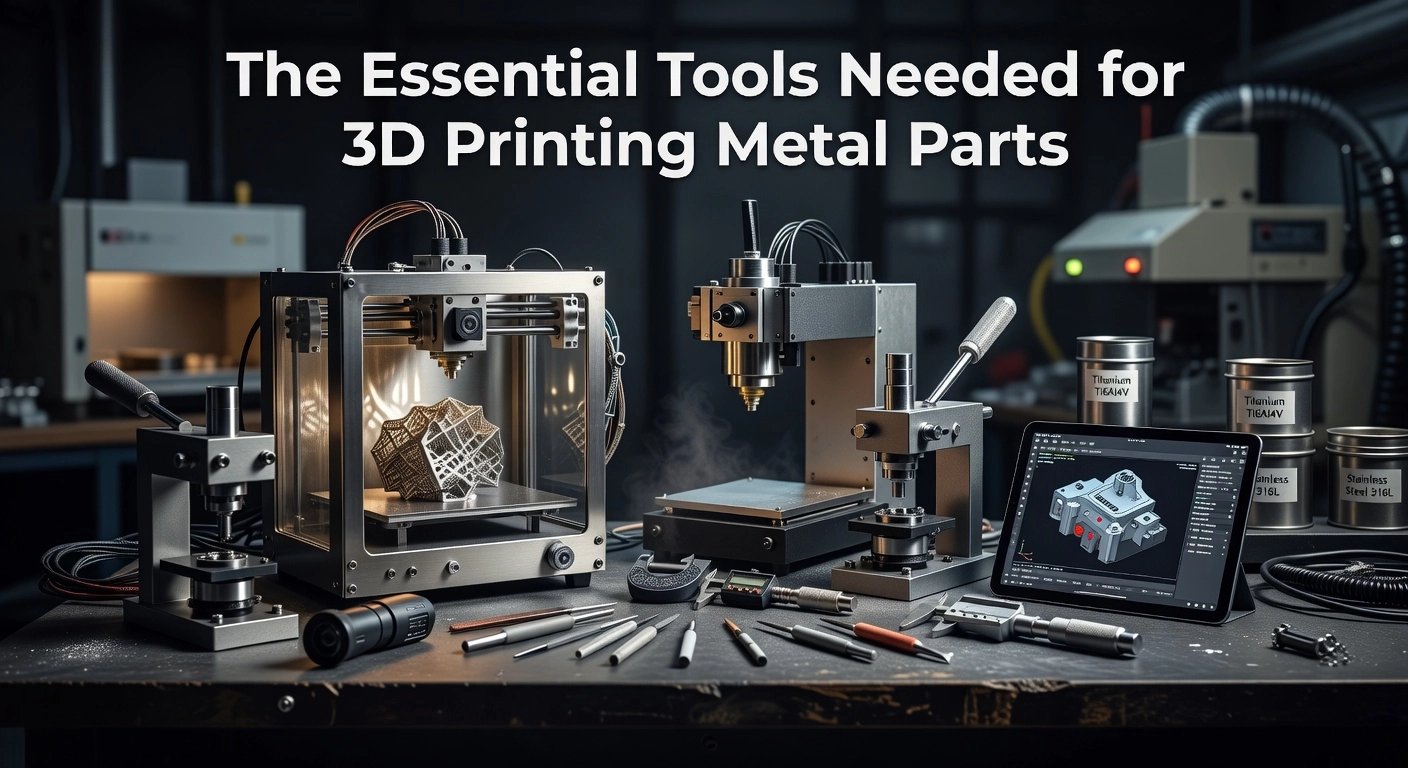
Getting Started: Essential Prerequisites and Materials
Step 1: Essentials
If you just thought I got a 3D printer, start by assembling a simple toolkit. Use an FFF printer with a hardened 0.4 to 0.6 mm nozzle and consistent extrusion. Add a kiln or furnace, lidded crucible, refractory media, calipers, and a digital scale. This setup lets you print, then densify, turning filament shapes into solid metal without exotic machines.
Step 2: Filamet setup
The Virtual Foundry’s Filamet bridges plastic-style printing and real metal. It extrudes like standard thermoplastics, then debinds and sinters to become pure stainless, bronze, or copper parts. Halmstad University’s Fab Lab uses Filamet to turn ideas into functional parts, proving the approach scales beyond hobby use. Get tooling, kiln, and workflow tips in the official guide: Getting Started with Filamet.
Step 3: Slicer and settings
Use the slicer you already know, then tune for heavy, metal-filled flow. Start with 0.12 to 0.2 mm layers, 1.8 mm walls, 70 to 100 infill, 200 to 230 C nozzle, 40 to 65 C bed, and 60 to 80 mm/s. Slow first layers, minimal retraction, and concentric or gyroid infill encourage even shrink and strong sintering. Measure the green part and apply the published linear shrink factor so the sintered part lands on size.
Step 4: Safety basics
Ventilate your print space and wear safety glasses and cut-resistant gloves when handling green or sintered parts. Treat kilns with respect, use heat-rated gloves and tongs, keep a clear heat-safe zone; never leave unattended. Keep a Class ABC extinguisher nearby, and store materials dry. For emerging methods like Cold Metal Fusion or multi-material printing, track reports such as top technologies and trends to watch, then start your first print.
Step-by-Step Guide: Printing Your First Metal Part
Prerequisites and materials
- Open-architecture FFF printer with a hardened 0.6 mm nozzle, clean PEI or glass bed, and reliable extrusion
- Filamet™ spool, side cutters, glue stick or Magigoo, calipers, and a sintering-capable furnace or access to a service
- Slicer that allows flow, temperature, and cooling control
- Safety gear for post-processing, heat-resistant gloves, eye protection, stainless tools
1) Load Filamet™ correctly
Mount the spool so filament feeds in a straight path with gentle bends. Snip a clean, angled tip and hand-feed to the extruder. Do not dry Filamet™, it is less hygroscopic than typical PLA and dryers can make it brittle. Purge a small amount to confirm smooth flow. If your extruder is geared, reduce tension slightly so you do not grind the filament.
2) Dial in print settings for metal-filled flow
Start at 205 to 215 C nozzle and 50 to 60 C bed. Use 30 to 50 mm/s print speed, 0.2 to 0.3 mm layer height, and 120 to 135 percent flow to account for density. Set 3 to 5 perimeters and high infill for parts intended for sintering. Keep part cooling low, often 0 to 20 percent, to improve layer bonding. Add a 10 to 20 line brim to anchor the first layer.
3) Monitor the first 10 layers
Watch adhesion, bead shape, and extrusion consistency. Adjust Z offset in 0.02 mm steps if the first layer is too squished or too tall. Listen for clicking that signals backpressure or a partial clog.
4) Troubleshoot fast
- Poor adhesion: clean the bed with IPA, relevel, increase bed temp 5 C, or add a brim
- Under or over extrusion: tune flow by 2 to 5 percent increments
- Clogs: cold-pull or swap nozzles, keep the filament path smooth
5) Post-process to real metal
Debind per the material guide, then sinter to fuse particles into a dense metal part. Expect dimensional change, so scale parts using the Filamet™ datasheet for your alloy. Finish by tumbling, polishing, or light machining. The same fundamentals that power qualified production in aerospace, medical, and energy apply here, you are learning a pathway that scales as you do.
Why Choose The Virtual Foundry: Succeeding Where Others Failed
The Virtual Foundry makes metal 3D printing approachable for beginners and powerful for pros, all without the six-figure price tag of traditional systems. By running Filamet on standard FFF printers, you can produce pure metal parts with affordable sintering, which puts real production capability on your desk. Packages to get started come in well under five figures, which dramatically lowers the barrier to entry compared with legacy setups, as covered in Affordable 3D metal printing on the desktop. Filamet is a high metal content composite, roughly 88 percent metal powder in a biodegradable binder, which prints safely and then sinters to dense metal. Many users report total cost reductions of up to 70 percent for low volumes, supported by data in Unlocking cost efficiency with metal 3D printing.
Across sectors, the results speak for themselves. Hobbyists and educators use Filamet to learn real metallurgy and produce finished bronze, copper, or steel art and functional parts. Manufacturers consolidate multi-piece assemblies into single components, improving strength and reliability while cutting labor. Aerospace and automotive teams leverage lattice structures and part consolidation for weight savings in the 20 to 60 percent range, consistent with the transition of metal AM into qualified production outlined in [Metal 3D printing for production: a technical analysis](https://thevirtualfoundry.com/metal-3d-printing-for-production-2/). This open, accessible approach effectively democratizes metal 3D printing, extending the usefulness of printers you already own.
Try it now in four steps
- Define one high-impact part. Prerequisites: your existing FFF printer and a Filamet spool. Materials: calipers, a simple cost worksheet, and your current part drawing. Expected outcome: a shortlist with a cost baseline, often showing up to 70 percent savings for low volumes.
- Prepare the toolchain. Prerequisites: access to a kiln or sintering service and TVF furnace recipes. Materials: simple fixtures for shrink control. Expected outcome: a first green part and a validated sintering plan.
- Run a pilot. Materials: two to three test prints to tune infill and wall thickness. Expected outcome: a dialed-in shrink rate and density that meet your tolerance and strength targets.
- Lock in repeatability with the community. Prerequisites: TVF guides, case studies, and peer feedback. Expected outcome: a stable workflow that moves from prototype to production.
Users consistently report tangible wins. One aerospace supplier replaced an eight-piece bracket with a single 316L Filamet part, cutting lead time from eight weeks to five days, slashing manual assembly by 40 percent, and reducing scrap by 60 percent. Educators integrate Filamet to give students hands-on metal results without specialized facilities. This combination of cost control, cross-industry success, and community-driven know-how is how TVF keeps metal AM practical and scalable, ready for your next part.
Exciting Applications: Metal 3D Printing Beyond Basics
Metal 3D printing is where your “I got a 3D printer, now what” moment gets exciting. With Filamet from The Virtual Foundry running on standard FFF printers, you can move past plastic into real copper, bronze, and stainless projects that are functional and beautiful. Across the industry, metal additive manufacturing has shifted from prototyping to qualified production in aerospace, medical, and energy, which means the skills you practice at home or in a lab map directly to real manufacturing. Artists are using printable metal for shapes that would be impossible in a wax tree, and engineers are consolidating multi-part assemblies into single pieces. Keep an eye on Cold Metal Fusion and multi-material metal printing, both poised to expand what you can make and how you make it.
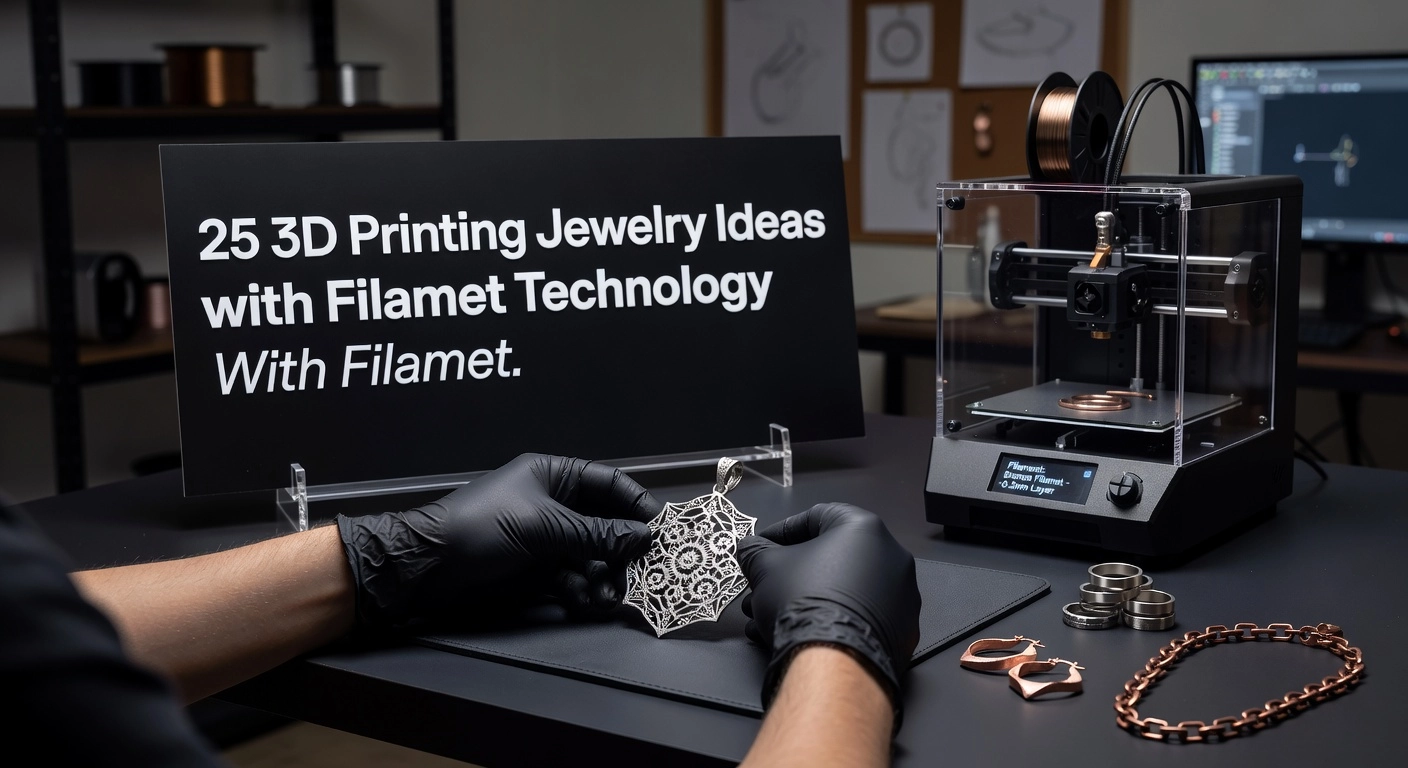
Art, Jewelry, and Industrial Parts
For jewelry and sculpture, intricate lattice rings, filigree pendants, and textured coins are straightforward once you account for sintering shrink. Copper and bronze Filamet take patinas well, letting you add greens and browns after a quick tumble polish. For inspiration and common use cases, see these examples of metal AM in art and jewelry. On the shop floor, print conformal cooling inserts, custom grippers, or sensor mounts, then sinter to achieve heat resistance and wear properties plastics cannot touch. Many teams now bridge from prototype to short-run production with metal AM, reducing tooling costs and lead time, as outlined in how industries move from prototypes to production.
Aerospace, Medical, Community, and the Road Ahead
Lightweight brackets, heat exchangers, and ducting benefit from topology optimization plus metal AM’s ability to produce internal channels. In healthcare, you can create patient-specific surgical guides, dental models, and training aids, while regulated implants remain the realm of certified facilities. Community labs and universities, including Fab Labs, use Filamet workflows to share sintering profiles and finishing tricks, accelerating repeatable results. This collaborative model is powering the next wave of manufacturing, as highlighted in why metal AM is powering the next wave. The Virtual Foundry’s open, accessible approach has succeeded by meeting creators where they are, then guiding them to production-grade outcomes.
- Prerequisites: open-architecture FFF printer, kiln, Filamet, calipers, tumbler. Expectation: metal density increases after sintering.
- Pick a path: jewelry, tooling, or lightweight structures. Outcome: a design matched to the application.
- Design smart: allow 15 to 20 percent linear shrink, thicken fine features, add sintering supports. Outcome: dimensional accuracy.
- Print and sinter: slow extrusion, strong bed adhesion, then controlled ramp and soak in the kiln. Outcome: fully metal part.
- Finish and validate: tumble, brush, or polish, then weigh and measure. Share your profile with the community to improve faster.
Tips and Troubleshooting for Seamless Printing
Optimizing print settings for complex parts
Start with a clean, leveled bed, dry Filamet, and a simple calibration model. 1) Orient parts to minimize supports, keep overhangs under 45 degrees, and favor arches or bridges, see tips in smarter design optimization. 2) Set 2 to 3 perimeters, 4 to 6 top layers, and gyroid infill at 12 to 20 percent with 0.8 to 1.2 mm cells to aid binder escape, details in Optimizing shells and infill. 3) Use 60 to 80 percent of nozzle size for layer height, slow outer walls to 20 to 30 mm per second, and tune flow with a single wall test. Expect cleaner bridges, fewer supports, stronger parts, and predictable sintering from prototype to production.
Preventing errors and upkeep
Stop failures early by perfecting the first layer. 1) Adjust live Z while printing a skirt and confirm with a paper test that the nozzle just kisses the bed. 2) Prevent warping with a 5 to 10 mm brim, consistent wall thickness, and an enclosure to hold temperature steady. 3) Prevent clogs by purging between materials, doing an occasional cold pull, and brushing the nozzle after long jobs. 4) Keep filament dry with desiccant or a low-temp dry cycle for smoother surfaces and stronger adhesion.
Community tips and knowing when to seek expert advice
Lean on community and know when to call in an expert. 1) Use temperature towers and single wall cubes for each alloy, then record the best temperature, flow, and speed. 2) For thin walls, use two perimeters, slow to about 20 mm per second, and add a 0.3 mm base chamfer. 3) For predictable sintering, design for uniform thickness and plan for roughly 14 to 20 percent linear shrink, pack parts evenly. If you see repeated layer splits, slumping after sinter, or dimensional drift beyond ±0.2 mm after three tries, share photos, STL, and settings with an expert.
Conclusion: Harness Your New Skills in Metal 3D Printing
You started with the “I got a 3D printer, now what” moment and learned that you can move from PLA to pure metal using Filamet on a standard FFF machine. The big ideas you picked up are simple and powerful: dry material matters, part orientation reduces supports, and designing for sintering, including scale compensation, is the difference between a good print and a great metal part. You also saw how metal additive is shifting from prototypes to qualified production in aerospace, medical, and energy, which means your hobby skills map to real-world manufacturing paths. Keep an eye on rising trends like Cold Metal Fusion and multi-material metal printing, both of which point to faster, more flexible workflows. Most of all, you learned that accessible tools and a supportive community make success repeatable.
Your next steps
- Project: Copper token or coin. Prerequisites: hardened 0.6 mm nozzle, kiln access, dry filament. Materials: Copper Filamet, glue stick, alumina or carbon media. Expected outcome: a solid copper piece you can polish, with predictable 13 to 20 percent linear shrinkage.
- Project: Bronze L-bracket. Prerequisites: calibrated flow and bed leveling. Materials: Bronze Filamet, simple supports. Expected outcome: a functional bracket that survives basic load tests after sintering.
- Project: Single-piece replacement. Prerequisites: clean CAD and sinter-aware scaling. Materials: Chosen Filamet. Expected outcome: consolidating a 2 to 3 part assembly into one metal print.
- Explore: Multi-material or glass/ceramic Filamet experiments. Expected outcome: dialed-in profiles for future advanced builds.
You are not doing this alone. Tap The Virtual Foundry’s knowledge base and case studies in the primer, start here: Introduction to 3D Metal Printing. Then browse tools, materials, and how-tos via the Virtual Foundry Sitemap. Share your results, ask questions, and post settings. Your feedback helps the whole community learn faster.