Introduction:
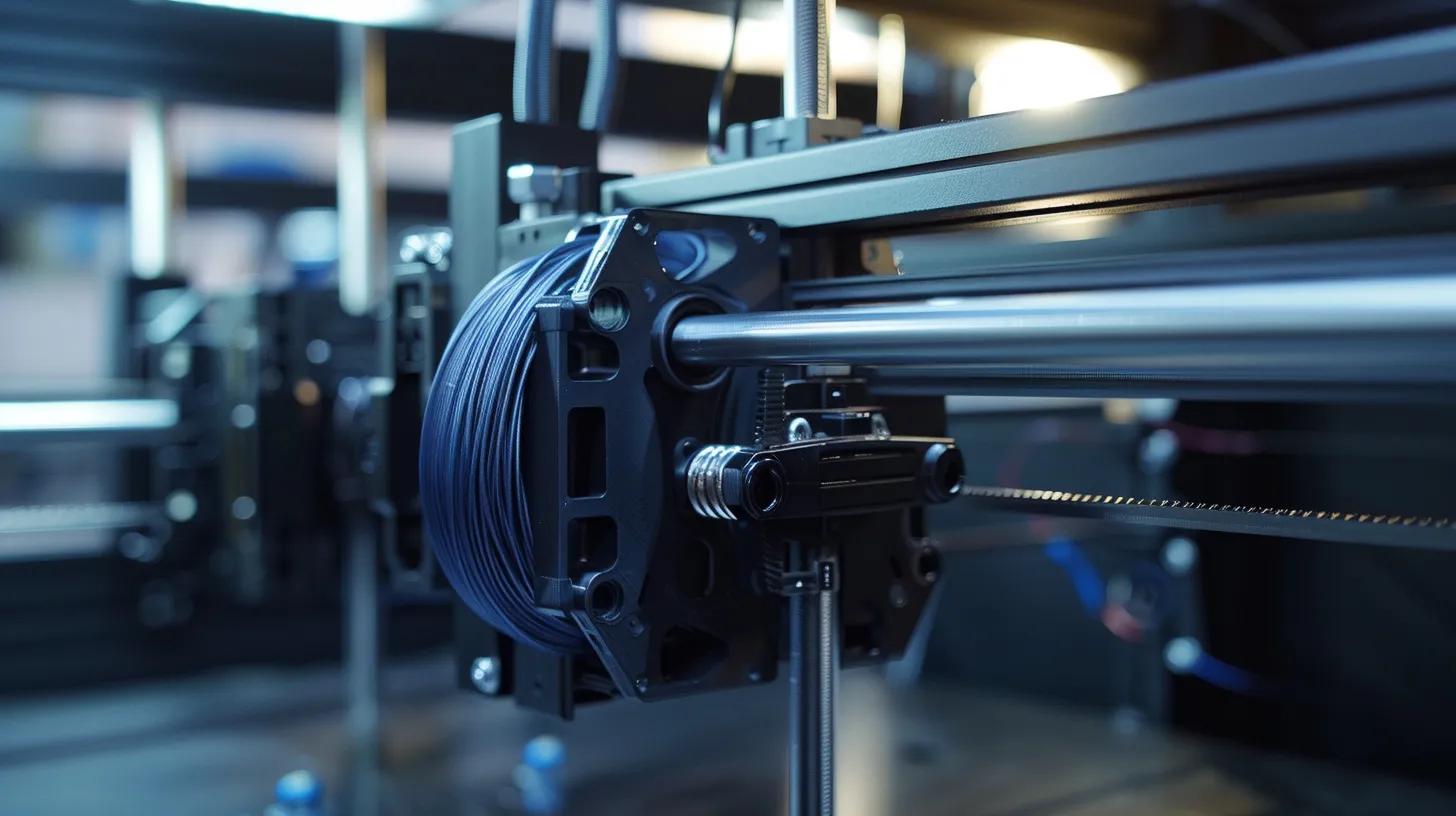
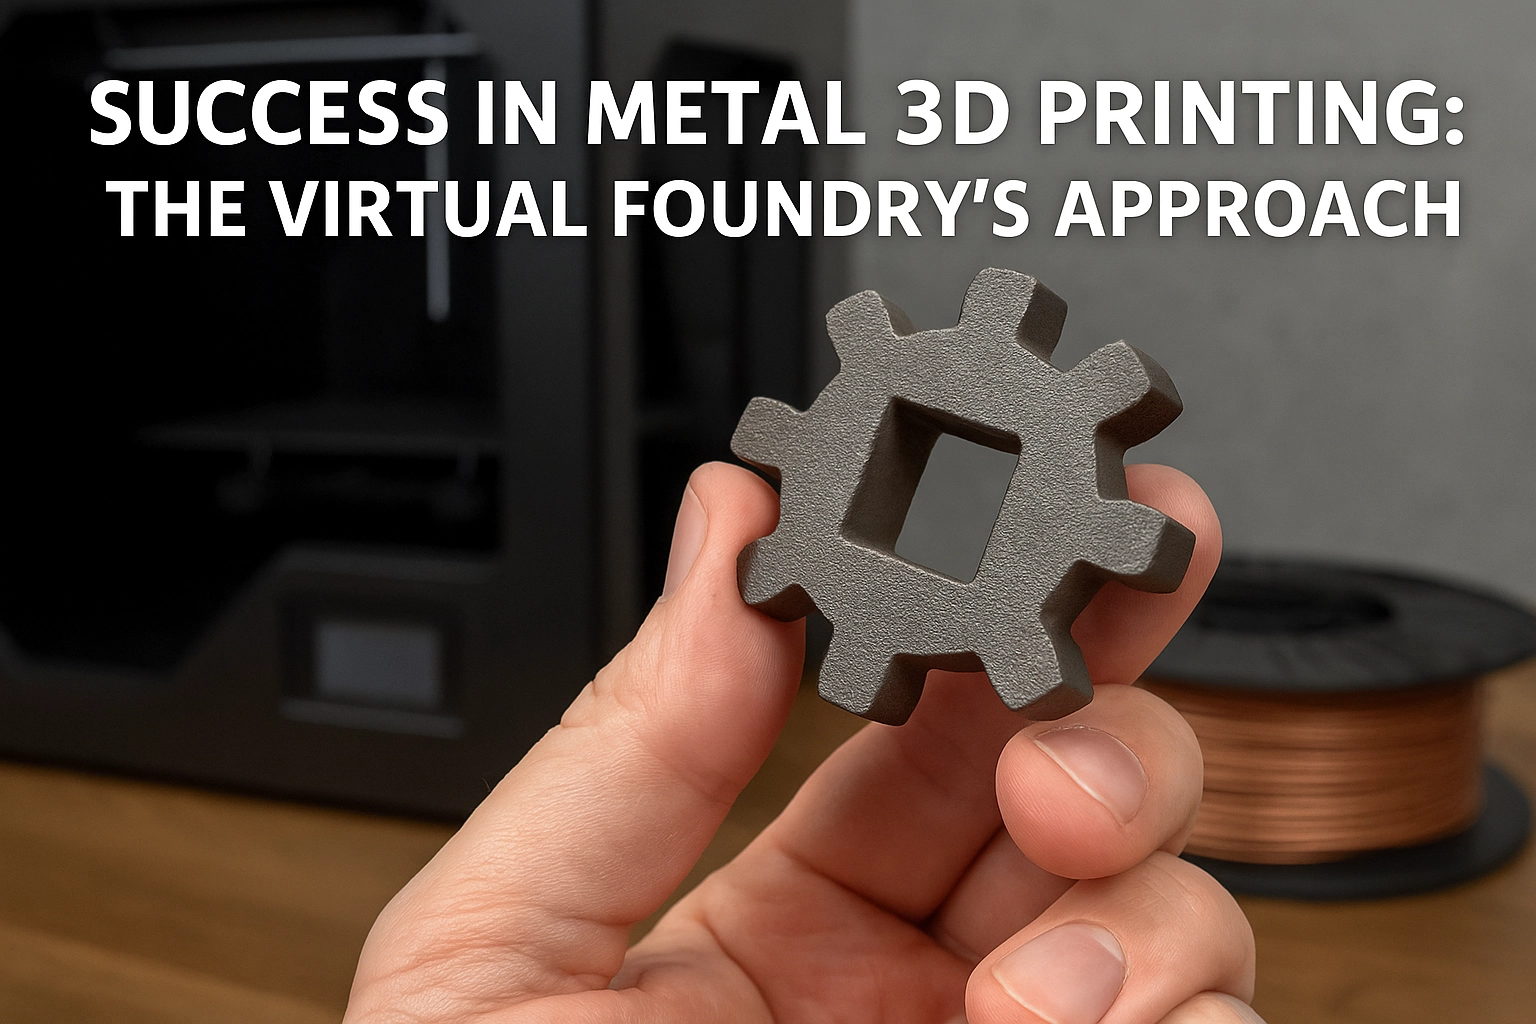
3D printing technology has revolutionized the manufacturing industry, allowing for the creation of complex and intricate designs with ease. The Virtual Foundry, a leading innovator in the field, manufactures Filamet™, a metal, glass, and ceramic 3D printing filament line that enables the production of metal parts using desktop 3D printers. This article aims to provide a step-by-step guide on how to debind and sinter Filamet™, unlocking the full potential of metal 3D printing. Remember to consult the current debinding and sintering instructions at https://thevirtualfoundry.com/debind-sinter/ as processes improve and instructions change.
Understanding Filamet™:
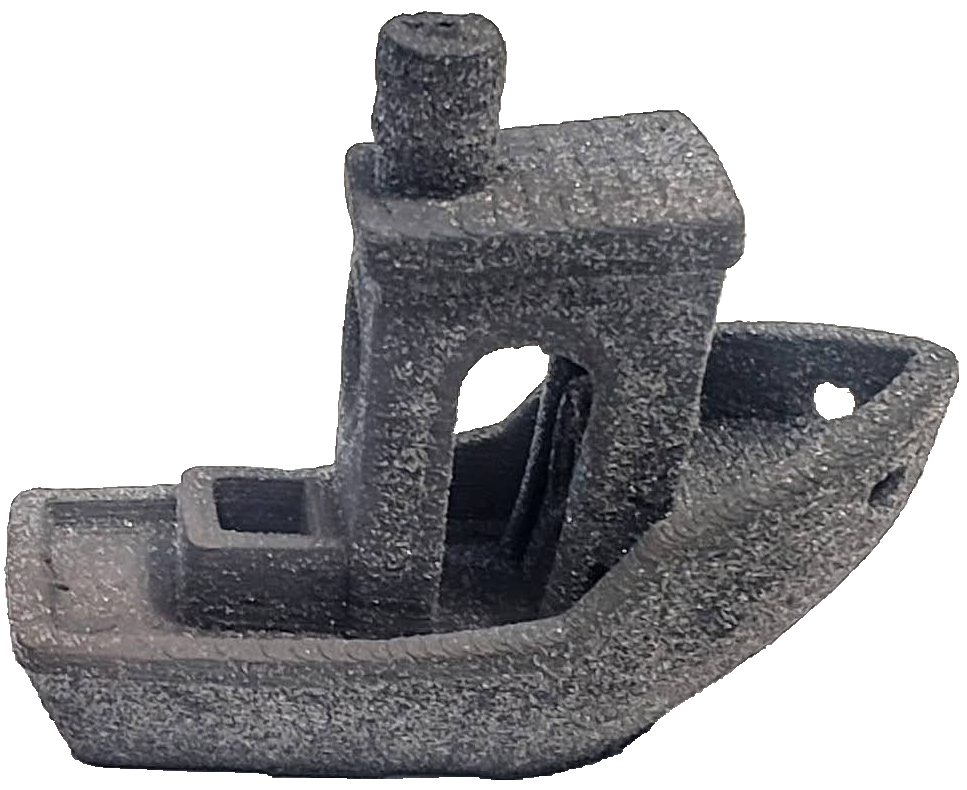
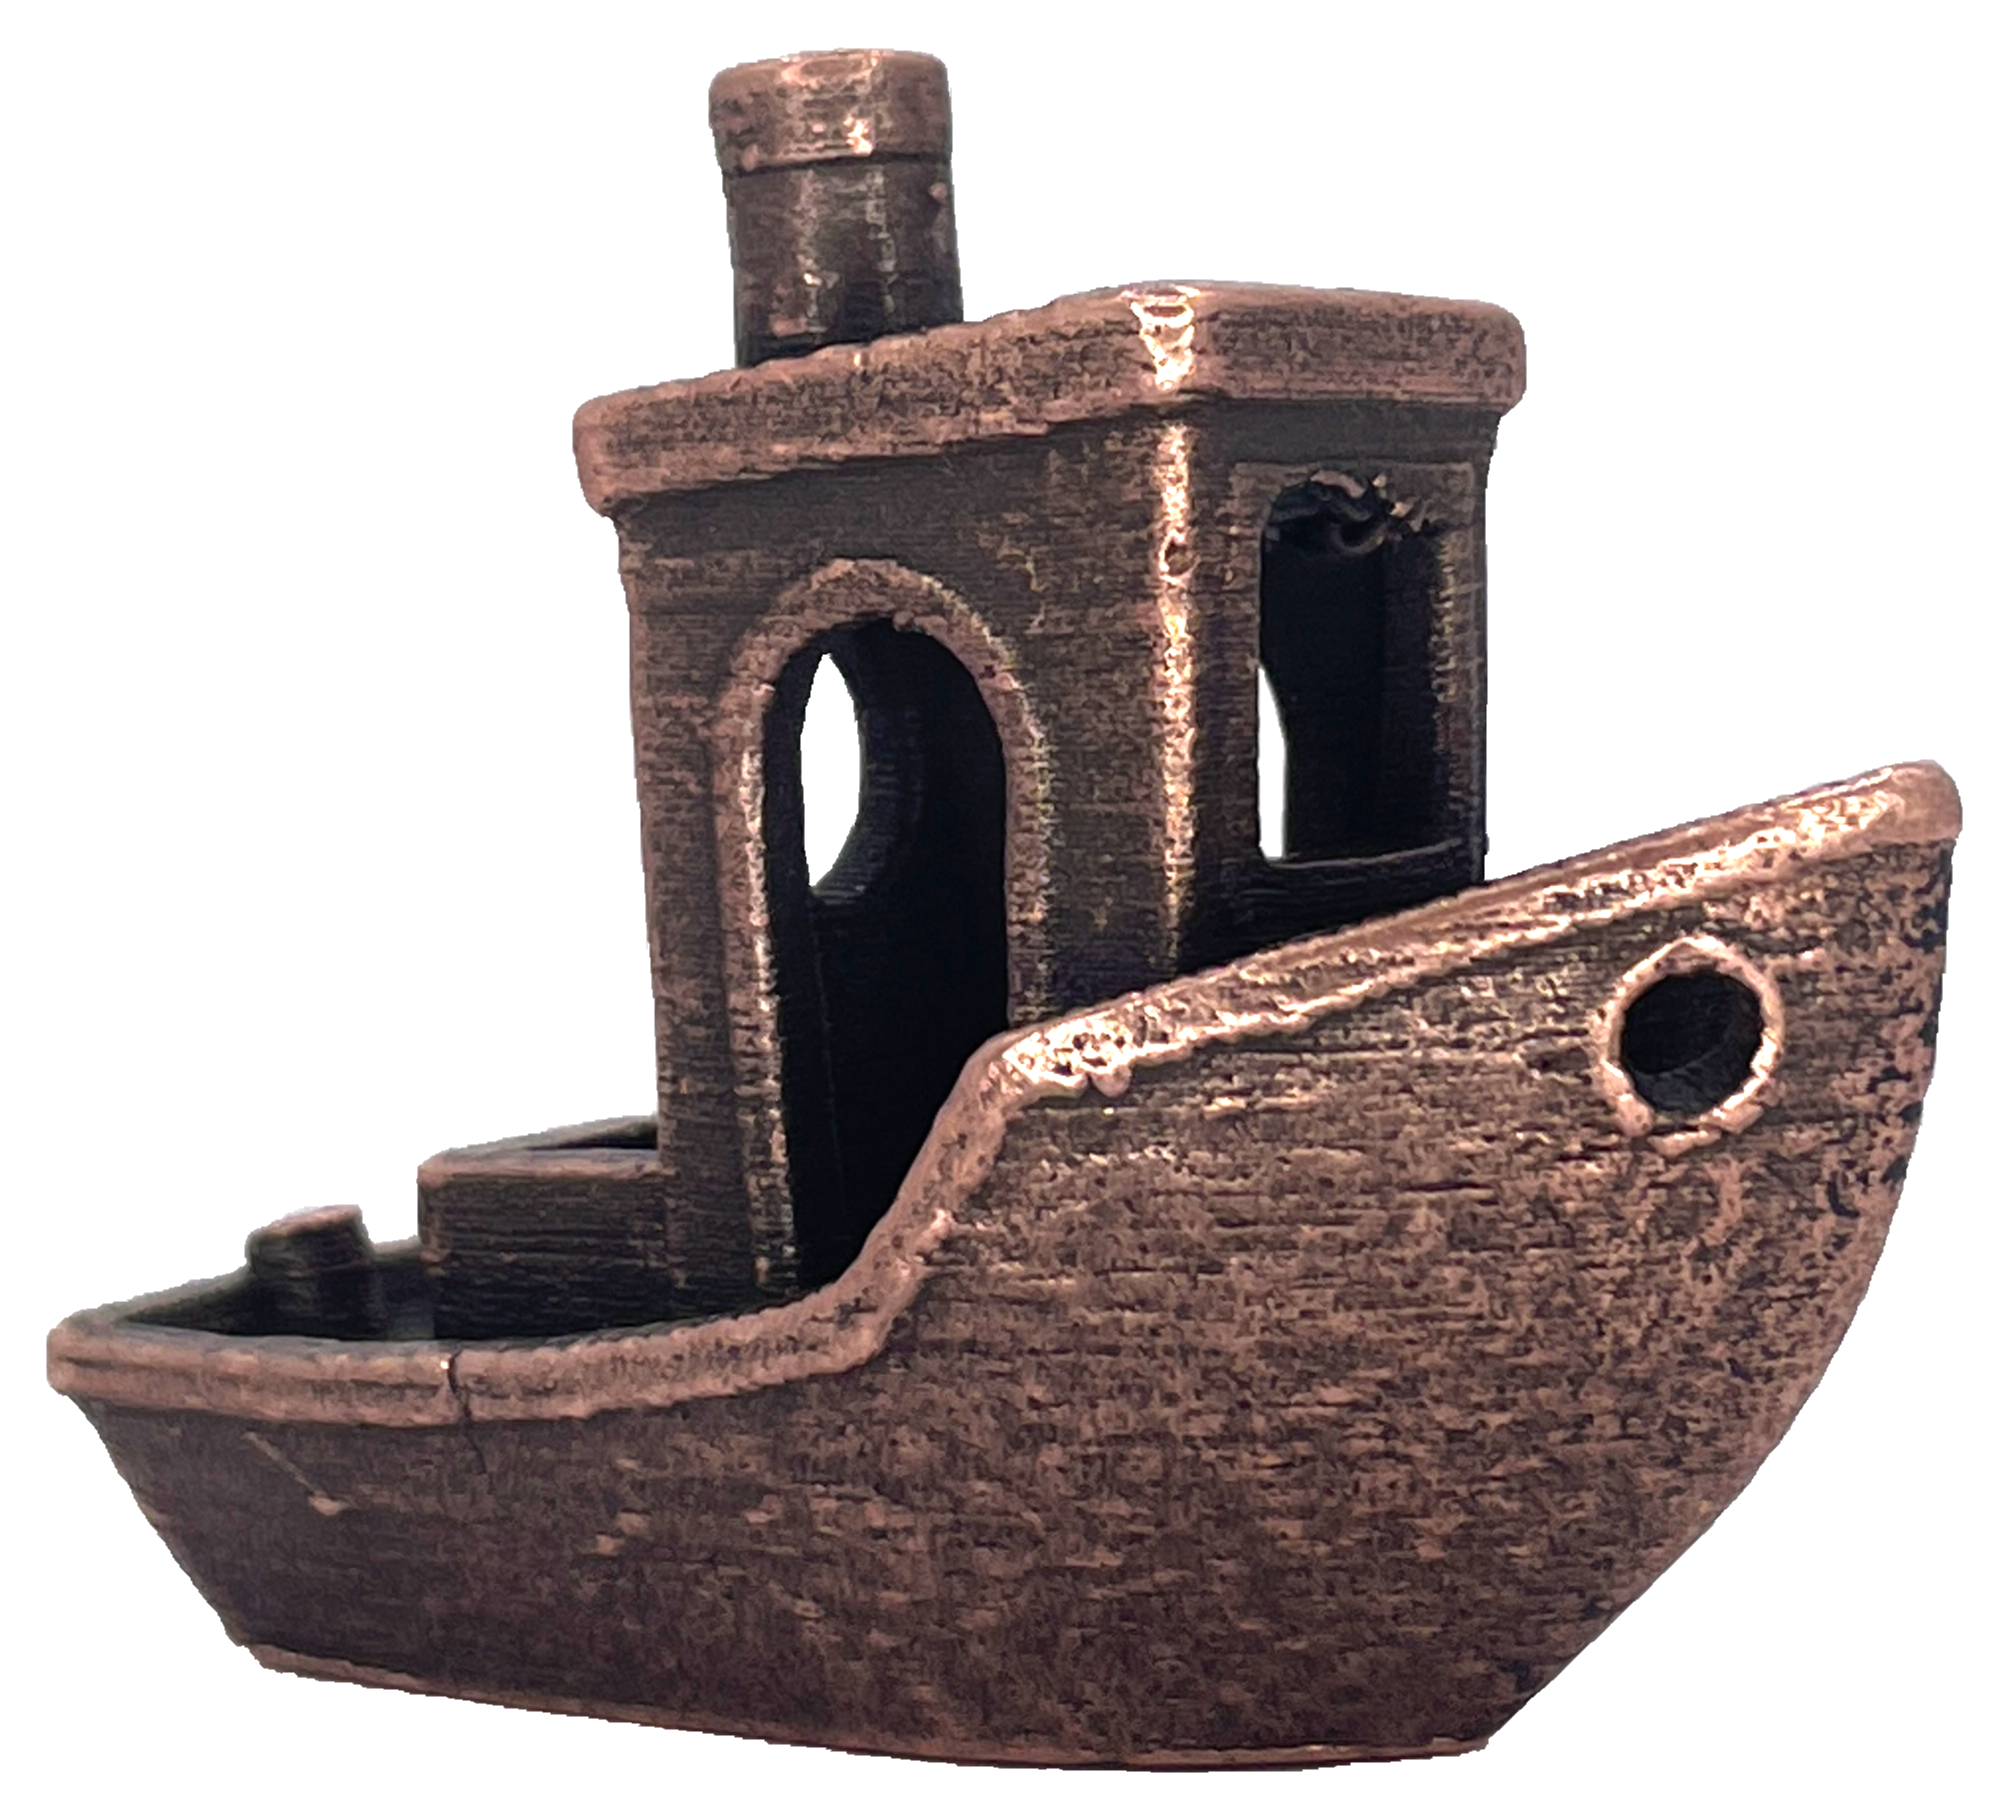
Filamet™ is a unique metal 3D printing filament developed by The Virtual Foundry. It combines a thermopolymer binder with a high concentration of metal, glass, or ceramic particles, making it compatible with standard 3D printers. Once printed, the Filamet™ object goes through a two-step process called debinding and sintering to remove the polymer binder and consolidate the metal particles, resulting in a fully metal, glass, or ceramic part.
Debinding Filamet™:
- Gather the necessary equipment:
- A furnace or kiln
- Appropriate safety equipment
- Refractory Ballast
- Crucible
- Remove the printed object from the 3D printer.
- Printed parts are typically pretty strong, though thinner parts (<2mm thick) may be more delicate. (Pod V4E5)
- Preparing the part for debinding.
- Inspect the printed part for any support structures or additional elements that need to be removed before debinding.
- Use appropriate tools (pliers, cutters, files, etc.) to remove any unwanted elements.
- Setting up the furnace.
- Ensure that the furnace is set up in a well-ventilated area.
- Follow the debinding instructions (found here) for temperature settings and heating ramp rates.
- For Steels: Ensure the sintering steps are programmed as well.
- Load the printed part into the crucible.
- Bury the part in the ballast, centered in the crucible.
- Tamp down and pat the sides of the crucible.
- Keep at least 15mm between the part and the crucible walls and top of refractory.
- For Steels: Ensure the top of the crucible has 40mm of Sintering Carbon on top.
- Load the crucible into the furnace.
- Place the crucible in the center of the furnace.
- Elevate the crucible off the bottom of the furnace if necessary to center vertically.
- Start the debinding process.
- Follow the recommended debinding instructions provided by The Virtual Foundry.
Sintering Filamet™:
- Gather the necessary equipment:
- A furnace or kiln
- Appropriate safety equipment
- Refractory Ballast
- Crucible
- Sintering Carbon
- Prepare the debound part for sintering.
- For Bronze/Copper: Remove the part from the ballast to be repacked.
- For Steels: The sintering schedule should begin as soon as the debind is complete.
- Setting up the sintering furnace.
- Ensure that the furnace is set up in a well-ventilated area.
- Follow the sintering instructions (found here) for temperature settings and heating ramp rates.
- Load the debound parts into the crucible
- Carefully remove the part and refractory from the crucible.
- Place the refractory ballast in the now empty crucible.
- Bury the part in the refractory ballast, centered in the crucible, leaving at least 25mm empty at the top of the crucible.
- Tamp down and pat the sides of the crucible.
- Keep at least 15mm between the part and the crucible walls and top of refractory.
- Fill up the whole 25mm of space on the top with the Sintering Carbon.
- If possible, place a cover over the crucible – Don’t seal it (the cover can be tool wrap, kiln paper. It is used to preserve Sintering Carbon).
- Load the crucible into the furnace.
- Place the crucible in the center of the furnace.
- Elevate the crucible off the bottom of the furnace if necessary to center vertically.
- Start the sintering process.
- Follow the recommended sintering instructions provided by The Virtual Foundry.
Tips:
- A crucible cover goes a long way to preserve Sintering Carbon. Make sure you do not seal the crucible though, as gases need to be able to escape.
- Do not sinter in the same ballast you debound in (for bronze and copper) since the residual binder left in the ballast after debinding can cause issues during sintering.
- When Steel Blend turns gray with a yellow/orange tint, it is time to replace it.
- Always use fresh ballast when troubleshooting. This will eliminate any contamination that may be in used ballast as a variable.
- Do not debind bronze and copper with Magnesium Silicate as it can cause parts to warp.
- A separate crucible full of Sintering Carbon is unlikely to help keep oxygen away from a part. Sintering Carbon should be on top of the crucible with the part in it. If you need more carbon, try a crucible cover.
- If you are experiencing warping, try burying your parts deeper in the crucible to add more weight above them. A piece of fire brick or a chunk of a material that will remain solid at the sintering temperature that is smaller than the top of the crucible can achieve the same result.
Conclusion:
Debinding and sintering Filamet™, The Virtual Foundry’s metal 3D printing filament, opens up a world of possibilities for creating functional metal parts using desktop 3D printers. By leveraging this comprehensive guide, you can successfully navigate the debinding and sintering process to transform your Filamet™ prints into fully metal parts. The Virtual Foundry’s Filamet™ offers an accessible and cost-effective solution for metal 3D printing, allowing you to explore intricate designs and unleash your creativity.
Remember to always prioritize safety by following the recommended guidelines and using appropriate protective equipment during the debinding and sintering processes. Additionally, consult The Virtual Foundry’s specific instructions and recommendations for the best results with Filamet™.
As metal 3D printing continues to advance, Filamet™ provides an exciting avenue for hobbyists, professionals, and industries to explore the realm of metal fabrication. By mastering the debinding and sintering techniques outlined in this guide, you’ll be well on your way to unlocking the true potential of Filamet™ and creating remarkable metal objects through the power of 3D printing.