Hey, have you ever watched those slick videos of massive industrial 3D printers churning out metal rocket parts or custom bike frames, and thought, “I want to do that in my garage”? Well, buckle up, because metal 3D printing DIY is no longer just for big factories or tech wizards. It’s accessible to beginners like you and me, with affordable tools and simple techniques that anyone can pick up.
In this beginner tutorial guide, we’re diving straight into the fun stuff. You’ll learn how to set up your own DIY metal 3D printing station without breaking the bank. We’ll cover the basics of materials like metal powders and binders, essential safety tips to keep things smooth and hazard-free, and step-by-step instructions for your first print, from design to finishing. By the end, you’ll have the confidence to create custom tools, jewelry, or prototypes right at home. No fancy engineering degree required, just curiosity and a willingness to get your hands a little dirty. Ready to turn your ideas into solid metal? Let’s jump in!
Understanding DIY Metal 3D Printing Technology
Hey there, fellow maker! If you’ve ever dreamed of printing your own metal parts at home without dropping a fortune on industrial machines, DIY metal 3D printing is your ticket to that future. At its core, this technology revolves around Bound Metal Deposition (BMD), a game-changer that lets you create pure metal objects using everyday FDM printers. Imagine mixing 80-90% fine metal powder with a simple polymer binder like PLA; this creates a filament that’s extruded layer by layer just like plastic. After printing, you debind the “green” part to remove the binder and sinter it in a kiln, fusing the metal particles into a dense, functional piece. No lasers or vacuum chambers required, making it perfect for beginners dipping their toes into advanced fabrication.
Let’s break down the BMD process step by step so you can hit the ground running. First, load your FDM printer (think Prusa, Creality, or Bambu Lab models) with metal-loaded filament. Print at settings like 0.2mm layers, 70-100% infill, and a hardened steel nozzle to handle the abrasiveness; temps hover around 220°C for the nozzle and 50°C for the bed. The result is a sturdy green part ready for post-processing. Next, debind in a kiln with aids like alumina powder to avoid warping, then ramp up to sintering temps (say, 1,300°C for stainless steel). You’ll end up with machinable, conductive metal parts for jewelry, tools, or prototypes. For detailed printing tips, check out The Virtual Foundry’s getting started guide.
One key quirk? Shrinkage of 15-20% linear during sintering, as the binder burns off and particles compact. Scale your designs up by 20-25% in slicer software to compensate; for example, a 10mm cube becomes about 8mm post-sinter. Compatible metals include stainless steel 316L for corrosion-resistant tools, copper for heat sinks, bronze for artistic jewelry, and Inconel for high-temp aerospace bits. Bronze is a beginner fave due to its lower sintering temp around 1,000°C and forgiving nature. Predict shrinkage with online simulators or community-shared profiles for spot-on results every time.
The hype is real: the metal 3D printing market hits USD 14.76 billion in 2026, rocketing to USD 36.94 billion by 2030 at a 25.8% CAGR, according to ResearchAndMarkets. This boom stems from accessible tech like BMD fueling prototypes and small batches in aerospace, medical, and hobbies.
Best part? No industrial gear needed. Grab filament kits under USD 500 plus a basic kiln (USD 200-1,000), and you’re set on your existing printer. Enter Filamet™ from The Virtual Foundry, an 88% metal filament that prints exactly like PLA on open printers. Their kits (like USD 515 for stainless 316L) include everything for pure parts, slashing costs 70% for low-volume runs. Artists print custom rings; hobbyists craft Benchy boats in bronze. Ready to try? Start small with bronze for easy wins, and join forums for sintering profiles. This opens doors to endless creations!
For more on FFF metal basics, see this All3DP overview.
Why DIY Thrives While Large Companies Like Desktop Metal Fail
Hey, fellow makers, let’s talk about why DIY metal 3D printing is exploding right now, especially with innovators like The Virtual Foundry leading the charge. While big players poured billions into locked-down systems that ended up too pricey and inflexible, TVF’s open approach lets you use your everyday FDM printer to create real metal parts. Think about it: proprietary setups often demand massive upfront investments, custom software, and materials you can’t source anywhere else, locking you into one vendor’s ecosystem. In contrast, TVF’s Filamet™ filaments work seamlessly on popular printers like Prusa MK3S, Creality Ender series, or Bambu Lab models, turning your hobby rig into a metal factory with minimal tweaks, like a hardened nozzle and a basic kiln.
TVF’s Universal Filamet™ Kits Make It Plug-and-Play
What sets TVF apart is their ready-to-go kits, like the Stainless Steel 316L Filamet™ Print and Sinter Kit for around $515. This includes a 0.5kg spool packed with 88% metal powder bound in PLA, which prints just like regular filament at standard speeds. After printing, you debind and sinter following TVF’s free profiles, shrinking the part by 15-20% to yield dense, strong metal ready for jewelry, tools, or prototypes. Hobbyists love how it fits any open FDM setup, no special hardware required, and scales from small art pieces to aerospace test parts used by NASA and labs. Check out TVF’s vindication of open metal 3D printing for real stories on this accessibility.
Massive Savings That Change the Game
DIY with TVF delivers up to 70% cost cuts for low-volume runs compared to machining or casting, since there’s no tooling and waste drops to under 10%. Lead times shrink dramatically, like one case slashing 8 weeks to 5 days while cutting assembly by 40% and scrap by 60%. Plus, you get 20-60% weight reductions through clever designs like lattices or hollow structures, perfect for drones, bike parts, or custom fixtures. Imagine printing a lightweight bracket that holds up like forged steel but weighs way less; TVF case studies show yields over 90% after dialing in profiles.
The 2026 Democratization Boom
By 2026, the desktop extrusion market hits $2.12 billion, driven by hobbyist kits shifting production from factories to garages. Affordable setups under $1,500 total empower beginners to prototype and iterate fast, fueling trends like sustainable recycled filaments and AI designs.
TVF supercharges this by building a vibrant community with shared sintering tips, forums, and tutorials, unlike closed systems that stifle creativity. Jump in, experiment, and you’ll see why open DIY is the future of metal 3D printing. Ready to try a kit? Your printer’s waiting.
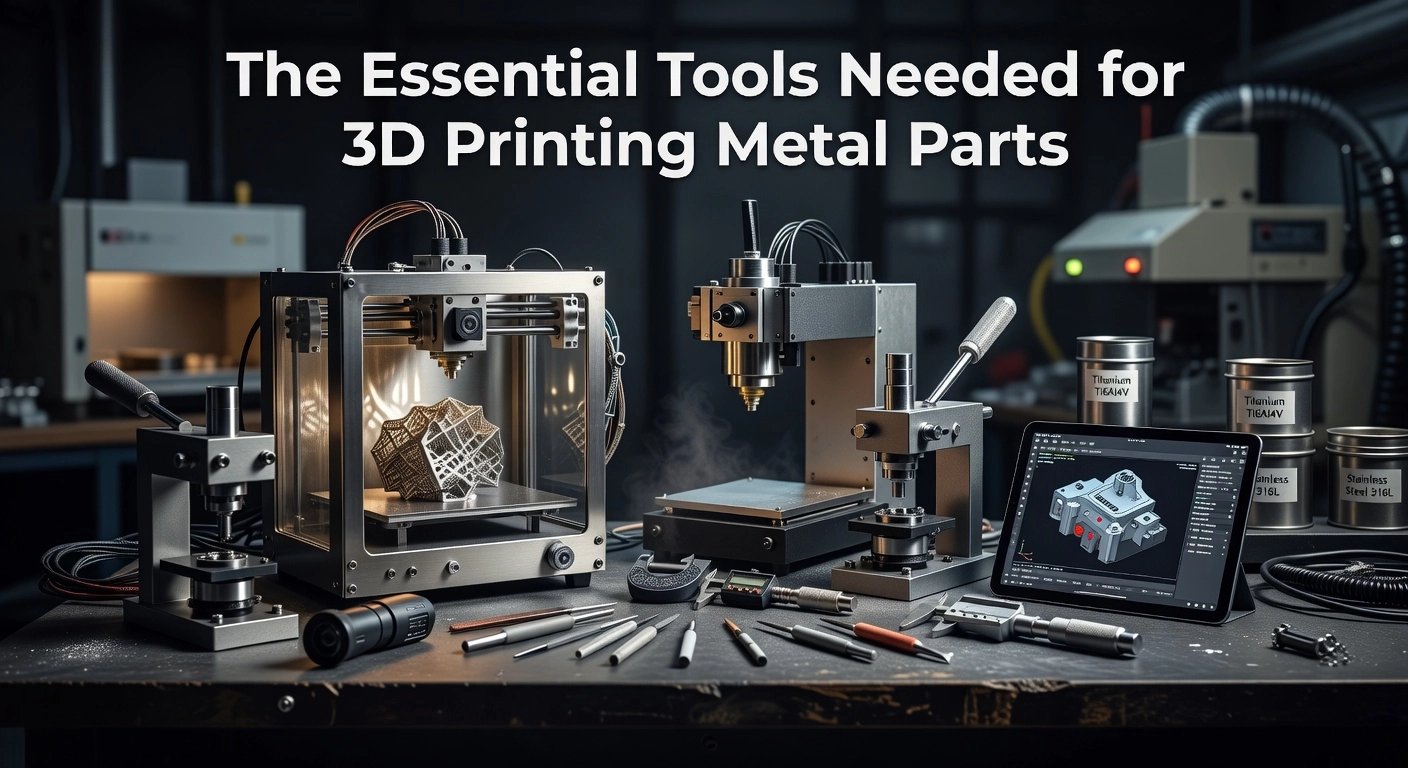
Essential Gear and Setup for DIY Metal Printing
Hey, fellow maker! Now that you’re excited about diving into metal 3D printing DIY, let’s gear up with the essentials. You don’t need a fancy industrial setup; standard FDM printers can handle this with a few tweaks. The key is choosing compatible machines and add-ons from innovators like The Virtual Foundry to make pure metal parts right at home.
Compatible FDM Printers
Start with reliable open-source FDM printers that hobbyists love, such as Prusa i3 MK3S, Creality Ender series (like the Ender 3 Pro or V2), and Bambu Lab models (A1, P1S, or X1 Carbon). These work great because you can upgrade them easily for metal filaments. Swap in a hardened steel nozzle, ideally 0.4mm to 0.6mm, since brass ones wear out after printing just a few hundred grams. Hang the filament spool 12-18 inches above the extruder to reduce stress, and use direct drive if possible for smoother flow. Print at slower speeds (30-80mm/s), higher temps (nozzle 200-240°C, bed 40-65°C), and 70-100% infill. Check out The Virtual Foundry’s trusted printers list for user-tested successes and settings.
Filamet™ Filament Kits, Filawarmer, and Refractory Ballast
Grab Filamet™ filament kits from The Virtual Foundry; they’re packed with 88-95% pure metal powder like copper, stainless steel 316L, or bronze, bound in a PLA-like polymer. The Copper Filamet™ Print & Sinter Kit costs about $465 and includes 0.5kg filament, plus must-haves like the Filawarmer and ballast. The Filawarmer ($110) is a game-changer: it gently heats the filament to 60°C inline, eliminating breaks from “memory curl.” For sintering stability, use refractory ballast like alumina (Al₂O₃) for copper or steel blend for stainless; it props up your “green” printed part to prevent warping during the 15-20% shrinkage. Always design with that shrinkage in mind, scaling models up accordingly.
Debinding and Sintering Tools
Filamet™ skips messy solvents; it uses clean thermal debinding in a kiln. Pick a programmable kiln ($200-1000) that hits 1200°C+, like small pottery models with ramps and holds. Follow precise profiles, say for copper: ramp at 55°C/hour to 482°C for 4 hours debind, then sinter to 1080-1120°C for 3-5 hours in a lidded crucible buried in ballast. This fuses particles into dense, pure metal (80-95% density). Start small to test; community-shared profiles save trial and error. TVF provides exact guides to nail it first time.
Safety Gear Essentials
Safety keeps this fun, not risky. During printing, ventilate well (enclosure ideal) for PLA-like fumes and metal dust; wear a respirator and nitrile gloves since it’s abrasive. Have a Class ABC fire extinguisher handy, as filament burns like plastic. For kiln work, use heat-resistant gloves, tongs, and glasses; set up on a non-flammable surface away from flammables. Never leave runs unattended, and store filament dry. A fire-safe workspace prevents mishaps.
Full Budget Breakdown
Your total setup runs $500-2000. Baseline: $465 Copper kit + $200 kiln + $50 safety/tools = under $750 if you own a printer. Add $200-800 for a new Ender or Bambu, plus $20-50 nozzles. Ongoing filament is $140-220/kg. This democratizes metal parts for jewelry, tools, or prototypes, slashing costs 70% for low-volume runs. Ready to print your first copper gear?
Step 1: Printing the Metal Filament Part
Hey, fellow maker! Now that you’ve got your setup ready with The Virtual Foundry’s Filamet™ filament loaded up, it’s time to dive into the first hands-on step of DIY metal 3D printing: printing the “green” part. This is the initial polymer-bound metal composite that you’ll later debind and sinter into a pure metal piece, like stainless steel or bronze. The magic starts here on your standard FDM printer, and with the right tweaks, you’ll avoid common pitfalls like clogs or warping. Filamet™ packs about 88% metal powder, so it prints similarly to PLA but demands precision for success.
First things first, tackle shrinkage, which happens during sintering when the binder burns off and the metal densifies, shrinking parts by around 15-20% linearly. To compensate, scale your model up by 20% in your slicer before generating the G-code; this ensures your final sintered part matches your design dimensions. Fire up PrusaSlicer or a similar tool like Cura or Bambu Studio, import your STL, select the model, and use the scale tool to bump it to 120% uniformly (or tweak per axis if you’re advanced: about 120% XY and 124-126% Z for anisotropic effects). Test this with a simple calibration cube first; print it oversized, sinter a sample, and measure to fine-tune your factor. This step alone can make or break your project, saving you from undersized disappointments.
Next, dial in these proven printing settings for smooth extrusion. Set your nozzle temperature to 220-250°C (start at 230°C and calibrate based on your filament color during extrusion; too hot degrades the binder). Bed temperature should be 50-60°C for good adhesion without excessive warping. Keep print speeds low at 15-25 mm/s to maintain density and flow, with first-layer speeds at 50-70% for a solid base. Layer height: 0.10-0.25 mm. And crucially, swap to a hardened steel nozzle (0.4-0.6 mm) right away; Filamet™’s abrasiveness wears out brass nozzles after just 1 kg.
For rock-solid prints, always add a brim (8-10 lines) or raft on a PEI or glass bed prepped with glue stick or hairspray. An enclosure is highly recommended to stabilize temps and block drafts, mimicking ABS printing conditions. Skip cooling fans entirely to prevent cracking. Start small: print jewelry pendants or mini tool prototypes like gears to dial in your machine before big runs.
Printer-specific tweaks boost reliability. On Bambu Lab models, leverage auto-leveling for perfect first layers and minimal clogs thanks to direct drive. Prusa printers shine with their direct drive extruders, slashing retraction issues and jams; just calibrate flow after loading heavy Filamet™ spools. These adjustments yield 90%+ success rates for beginners.
Imagine sintering a scaled pendant into shiny stainless steel jewelry or a robust bracket prototype with 95%+ density and strengths up to 500 MPa. The DIY metal 3D printing community shares tons of these wins, proving Filamet™ democratizes pro-level results at home. Nail this step, and you’re set for debinding next!
Step 2: Chemical or Thermal Debinding
Hey, fellow maker! Now that you’ve nailed printing your green part with The Virtual Foundry’s Filamet™ filament, it’s time for Step 2: debinding. This crucial stage removes the polymer binder, leaving a fragile brown part ready for sintering into solid metal. Think of it as stripping away the scaffold to reveal the pure metal structure inside. There are two main methods, chemical (solvent) and thermal, but for Filamet™, thermal is the go-to since it’s optimized for safety and simplicity in DIY setups. Let’s break it down so you can do this confidently at home.
Solvent Debinding Basics
Solvent debinding uses a chemical bath to dissolve the binder quickly. Submerge your green part in an acetone bath (or similar solvent) at room temperature or slightly warmed to 40-60°C. Soak for 24-48 hours, depending on part thickness; aim for about 4 hours per millimeter of wall thickness. Check progress by weighing the part, targeting 5-10% initial mass loss from the primary binder. Crucially, monitor for cracks every few hours, inspect visually, and let it cool slowly in the bath before removal to prevent delamination. Dry completely in a dust-free area. While effective for some setups, it’s trickier with high-metal-load filaments like Filamet™ (88% metal powder), so proceed with caution and always prioritize safety gear.
Thermal Debinding: The DIY Favorite
Thermal debinding is straightforward and preferred for Filamet™ kits. Use a programmable kiln with your part buried in refractory ballast (like alumina or TVF’s blend) in an open crucible for support and gas escape. Ramp slowly at 1-2°C per minute (around 55-120°C per hour) up to 500°C to pyrolyze the binder without cracking from gas buildup. Hold for 2-6 hours based on size; for parts under 50mm, that’s often plenty, but scale up for thicker ones (e.g., add 1 hour per extra 10mm). Cool gradually to room temperature. Expect 20-40% total mass loss. Check TVF’s exact profiles here for materials like Stainless 316L (ramp to 427°C with holds) or Bronze (to 482°C, 4-hour hold). These tested schedules prevent 90% of common defects like blisters.
Post-debinding, your brown part is super fragile, like a porous eggshell (40-60% open porosity). Handle with gloves or tweezers, support fully during transfer, and avoid shocks or oils that could ruin sintering. TVF kits include everything, plus community guides for tweaks.
Safety first: Work in a well-ventilated space or fume hood, as binders release fumes when heated. Wear a respirator, gloves, and goggles; never inhale vapors. Unplug the kiln before handling, and test small batches. With these steps, you’re set for dense metal parts. Up next: sintering!
Step 3: Sintering to Create Pure Metal
Hey, fellow maker! Now that your fragile brown part is out of the debind stage, we’re at the exciting finale in DIY metal 3D printing: sintering. This is where the metal powder particles fuse together through intense heat, creating a dense, functional pure metal component you can actually use. You’ll need a reliable kiln, like The Virtual Foundry’s sintering kiln that hits up to 1288°C in a compact chamber. Pack your part in refractory materials such as alumina for copper or steel blend for stainless to support it and prevent contamination. The process involves a slow ramp-up of 100-200°C per hour to avoid cracks, a hold at peak temperature, and a gradual cool-down over 6+ hours. Safety first: always use PPE, monitor with a thermocouple, and work in a ventilated space.
Key Sintering Profiles for Common Metals
Sintering temps range from 1050-1350°C depending on the metal, with holds of 2-8 hours for full densification. For Stainless Steel 316L, aim for 1250-1350°C with a 2-4 hour hold at around 1260°C; copper needs about 1050°C for 1-5 hours, while bronze sits lower at 885°C for 4-5 hours. Argon gas is optional but helpful for oxidation-sensitive metals like copper, creating an inert atmosphere, though many DIY setups succeed without it using carbon packing. Follow precise profiles from The Virtual Foundry’s master metal sintering guide to nail repeatability; log your kiln’s temps since they can vary by 38°C. Start with test coupons to calibrate, and extend holds for larger parts over 50mm. These steps yield 95%+ theoretical density, turning hobby projects into pro-level parts.
Designing for Shrinkage and Stability
Plan for 15-20% linear shrinkage as the binder vanishes and powders compact; scale your CAD model up by 1.2-1.25x beforehand for accurate final dimensions. For example, 316L often shrinks 14-20%, copper 12-18%. Add vent holes for gas escape, uniform wall thicknesses, and sacrificial supports or powder fixturing for overhangs to fight warping from gravity. See detailed tips in The Virtual Foundry’s How-To 3D Print Metal PDF. Print at 100% infill for strength.
Finishing and Quality Checks
After slow cooling, your matte part is ready for post-processing: abrasive blast for a clean surface, then progressive sanding or tumbling for shine. Inspect density via the Archimedes method, targeting 95%+ (like 8g/cm³ for 316L); check dimensions and porosity too. Polish preserves tolerances while boosting aesthetics and function.
Real-world wins include Stainless 316L rocket nozzles for DIY engines, sintered on basic printers to handle propulsion heat, and intricate copper heat sinks for superior thermal performance. The Virtual Foundry’s print-and-sinter kits bundle filament, crucibles, refractories, and tailored guides, ensuring consistent results even for beginners. You’ve just unlocked pure metal magic at home!
Troubleshooting Challenges and Pro Tips
Hey, fellow maker! You’ve made it through printing, debinding, and sintering your Filamet™ parts, but let’s be real: DIY metal 3D printing comes with some bumps along the way. Don’t sweat it; these common challenges are totally solvable with a few pro tips from The Virtual Foundry’s experts. Whether it’s a stubborn clog or a warped part, we’ve got actionable fixes to keep you printing pure metal like a champ. Let’s dive in and troubleshoot step by step.
Clogs and Jams: Keep Your Flow Smooth
Clogs are the number one headache with metal-loaded filaments like Filamet™, thanks to their high metal content making them abrasive and moisture-sensitive. Start by always drying your filament for 4-6 hours at 60-80°C in a dryer before printing; wet filament absorbs moisture from the air, leading to steam bubbles that jam the nozzle. Switch to a hardened steel nozzle (0.4-0.8mm) right away, as brass wears out fast. Drop your print speed to 20-30mm/s max with no cooling fan, and clean the nozzle regularly with cold pulls at 240-260°C using a simple nylon or PLA purge. For Bambu Lab users, heat a hex wrench red-hot and push it through the hotend, then do a cold pull at 260°C while checking the PTFE tube. Prusa owners, unload at filament temp, soak the nozzle in acetone, and ensure it’s not overtightened against the heater block. These tweaks cut clogs by over 80%, letting you print reliably.
Warping and Cracks: Stability Is Key
Warping hits during printing from uneven cooling or in sintering from thermal stress. On the print bed, use even heating at 90-105°C with brims, rafts, and Magigoo Pro Metal adhesive; skip part cooling and keep wall height-to-width under 6:1 with alternating infill at 45° and -45°. During sintering, the real magic happens with ballast weights: bury your green or brown parts in refractory alumina silicate ballast in a crucible, tamp the sides firmly, and top with firebrick weights smaller than the lid for downforce. This prevents lifting and distortion, especially with 15-20% shrinkage; leave 15-25mm clearance to walls. Test with small coupons first, and use shrinkage plates of the same material around bases to fight friction. Users report near-zero warpage this way.
Safety Protocols: Print Without the Drama
Safety first, always! Sintering releases toxic fumes like CO and VOCs, so run your kiln outdoors or in a ventilated garage with an exhaust fan. Wear heat-resistant gloves, safety goggles, N95 or P100 respirator, and a lab coat; nitrile gloves handle powders best. Keep ABC fire extinguishers handy for binders and Class D for metal fires, never use water. The Virtual Foundry’s step-by-step sintering guides stress checklists, remote monitoring, and emergency cooldowns to avoid mishaps.
Advanced Tips: 2026 Trends to Watch
Looking ahead, multi-material prints are booming with hybrids blending metals like steel and copper for complex parts; use supports for overhangs over 35°. Recycled filaments are huge too, with 38% of makers prioritizing sustainable options, and The Virtual Foundry’s custom blends make it easy to repurpose metal powders.
Cost Savings That Add Up
Per TVF data, DIY slashes lead times from 8 weeks for CNC or casting to just 5 days, with 30-70% lower costs on small batches. One case turned an $8K quote into a quick, cheap win. Master these tips, and you’re set for pro-level metal parts!
Real-World Applications and Inspiration
Hey, fellow maker! Now that you’ve mastered the steps for DIY metal 3D printing with The Virtual Foundry’s Filamet™, let’s get inspired by real-world applications. These examples show how accessible this tech is for beginners, turning your home setup into a powerhouse for creativity and innovation. From jewelry to high-tech prototypes, Filamet™ delivers pure metal parts that rival professional results.
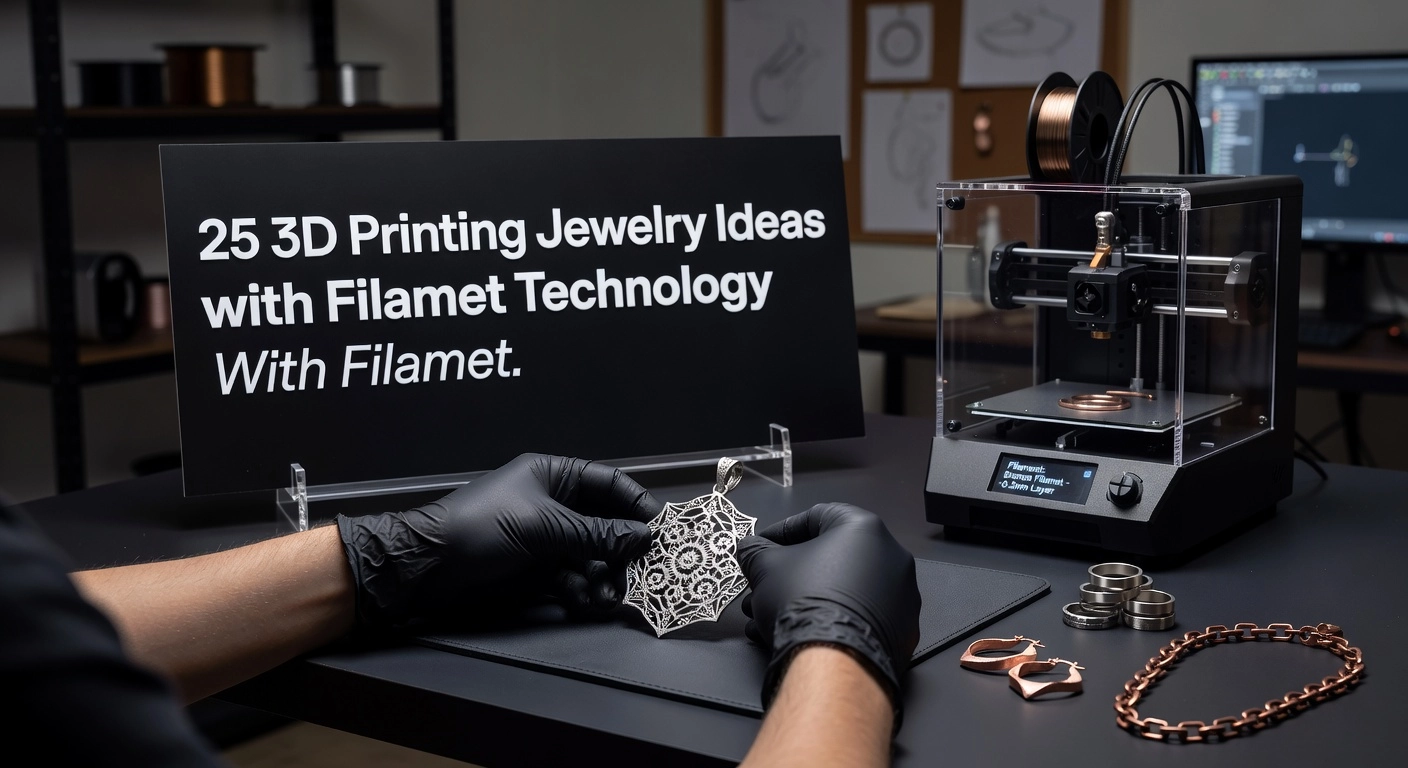
Jewelry and Art: Crafting Custom Bronze Rings and Sculptures
Imagine designing and printing your own bronze ring, complete with intricate lattices and perfect fit. With Filamet™ bronze filament, you print a green part on your FDM printer, debind it, sinter to 99% dense metal, then tumble and apply patina for that antique green or blue glow. Artists love this for sculptures too; one TVF jewelry case study highlights a filigree pendant printed in hours, sintered overnight, and polished for stunning detail. Scale designs up 18-20% to account for shrinkage, use 100% infill, and experiment with copper for warm tones. This process slashes lead times from weeks to days, making bespoke pieces affordable at around $100 per kg of filament.
Manufacturing: Low-Volume Aerospace and Nuclear Prototypes
In manufacturing, DIY metal 3D printing shines for prototypes. For aerospace, Filamet™ 316L creates lightweight brackets with lattices, cutting weight by 20-60%. A standout example from The Virtual Foundry’s blog shows a single-piece bracket replacing an eight-part assembly, reducing lead time from 8 weeks to 5 days, assembly labor by 40%, and scrap by 60%. Nuclear applications include complex nozzles and filters, where part consolidation minimizes waste. Start small with topology-optimized designs in free CAD software, sinter in a kiln, and iterate fast for R&D.
Education and Community: STEM Wins and TVF Showcases
Educators use Filamet™ for hands-on STEM projects, like printing and sintering steel Benchy boats to teach metallurgy. Students at places like Halmstad University Fab Lab share profiles for bronze tools, fostering real metal outcomes without lasers. TVF’s community blog amplifies this with user stories, like that 60% scrap reduction case, plus tips on reclaiming powder for zero-waste prints.
2026 Trends: AI Designs and Sustainable Metals
Looking ahead, AI will generate optimized designs via natural language prompts, cutting development time by 50%. Sustainable metals from recycled filaments will dominate, slashing waste by up to 90%. By 2026, the metal 3D printing market hits $14.76B, with DIY leading affordability. Jump in now, fellow maker, and join the revolution!
Actionable Takeaways: Start Your DIY Metal Journey
Hey, fellow maker! You’ve journeyed through the tech, setup, steps, and pro tips for DIY metal 3D printing with The Virtual Foundry’s Filamet™. Now, let’s turn that knowledge into action with these straightforward takeaways to launch your own metal parts at home. Start small, stay safe, and watch your skills grow.
Your first move? Order a Filamet™ kit today from The Virtual Foundry and upgrade your printer’s nozzle right away. These kits, like the Stainless Steel 316L at around $515 or Copper at $465, come ready for standard FDM printers such as Prusa or Creality models. Swap in a hardened steel nozzle (0.4mm works great) to handle the 88% metal-loaded filament without clogs. Add a Filawarmer for consistent extrusion and some refractory ballast to counter shrinkage during sintering. This setup costs under $500 total, making pure metal parts accessible without industrial gear.
For your debut success, stick closely to TVF’s sintering profiles. Download their free guides tailored to materials like bronze or Inconel; they account for 15-20% linear shrinkage and prevent warping. Use a kiln preheated to specific ramps, say 600°C for stainless, holding for hours before cooling. First-timers report 90% success rates following these, turning green parts into shiny metal masterpieces.
Hit snags? Join The Virtual Foundry’s forums or Reddit communities like r/3Dprinting for real-time troubleshooting. Share your brown part photos, get advice on fume safety or debind tweaks, and discover user hacks. Thousands of hobbyists, artists, and jewelers swap tips there daily.
Once confident, experiment with designs: print custom jewelry pendants or aerospace prototypes, then scale to small production runs. One maker slashed assembly time by 40% and scrap by 60%, cutting lead times from weeks to days.
Expect solid ROI too; DIY yields up to 70% cheaper low-volume parts versus traditional methods, fueled by community-driven innovation. Dive in, fellow maker, and print your metal future!
Conclusion
In summary, this beginner guide has armed you with four key takeaways: an affordable setup for your home metal 3D printing station, essential materials like metal powders and binders, critical safety tips to protect yourself, and a clear step-by-step process from design to finishing your first print.
The true value lies in making advanced tech accessible. No engineering degree is needed. You now have the tools to craft custom tools, jewelry, or prototypes in your garage, sparking creativity and real-world results.
Take action today. Gather your supplies, follow the steps, and print your first project. Share your successes or questions in the comments. Your hands-on adventure awaits. Start building, and watch your ideas come to life in metal.