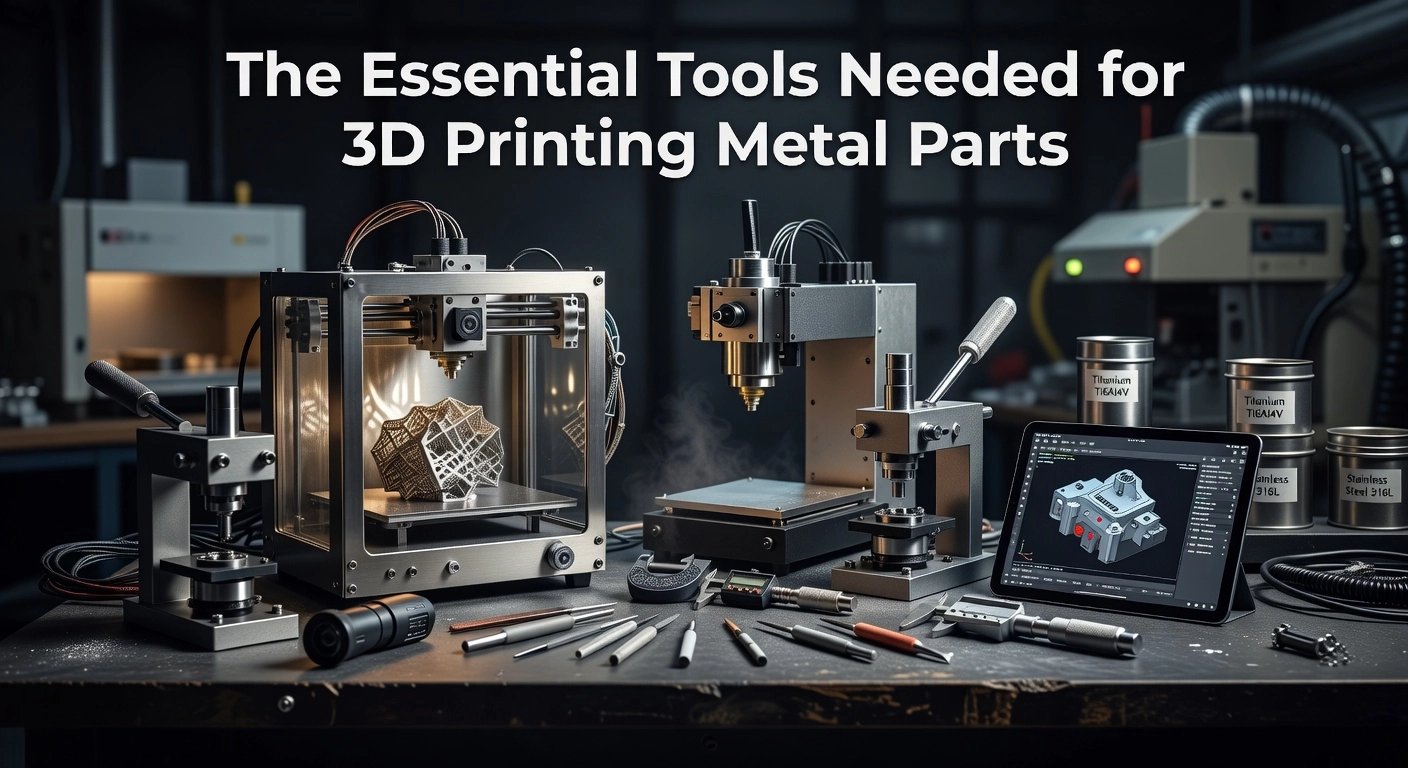
Imagine upgrading your vehicle’s headlights with custom, durable metal components that withstand extreme temperatures, vibrations, and impacts. Stock plastic housings often fail prematurely, leading to costly replacements and safety risks. For intermediate makers ready to level up, 3D printing metal headlight parts offers a game-changing solution. This process leverages advanced techniques like direct metal laser sintering to produce precision components that rival OEM quality.
In this authoritative step-by-step guide, you will master the essentials of 3D printing headlight bezels, mounts, and reflectors in materials such as stainless steel or titanium. We cover design optimization in CAD software tailored for metal printing, selecting the right printer and powder, post-processing for flawless finishes, and safe installation tips. Expect detailed workflows, proven parameters, and troubleshooting for common pitfalls like warping or porosity.
By the end, you will confidently fabricate high-performance headlight upgrades that enhance brightness, longevity, and aesthetics. Whether restoring a vintage ride or customizing a modern build, these skills empower you to tackle automotive fabrication like a pro. Dive in and transform your project today.
The Rise of 3D Printed Headlights in Automotive
The automotive 3D printing market is set to exceed $6.8 billion in 2026, growing at a 14.8% CAGR according to Global Market Insights. This surge is fueled by demand for custom parts in classic cars like the Datsun 280Z and electric vehicles, where 3D printed headlights enable rapid prototyping and personalization. Manufacturers and hobbyists alike use FDM and SLA printers to produce housings, bezels, and buckets, restoring vintage aesthetics or upgrading modern EVs with lightweight designs.
Key applications include repair tabs for broken assemblies, addressing the roughly 1 million US units replaced annually at $300 to $4,000 each. Print polypropylene tabs and weld them for OEM-compliant fixes, saving shops from full discards. Functional mods shine too: craft LED grommets, seals, or cooling ducts in heat-resistant ASA or TPU to improve airflow in setups like turbocharged classics.
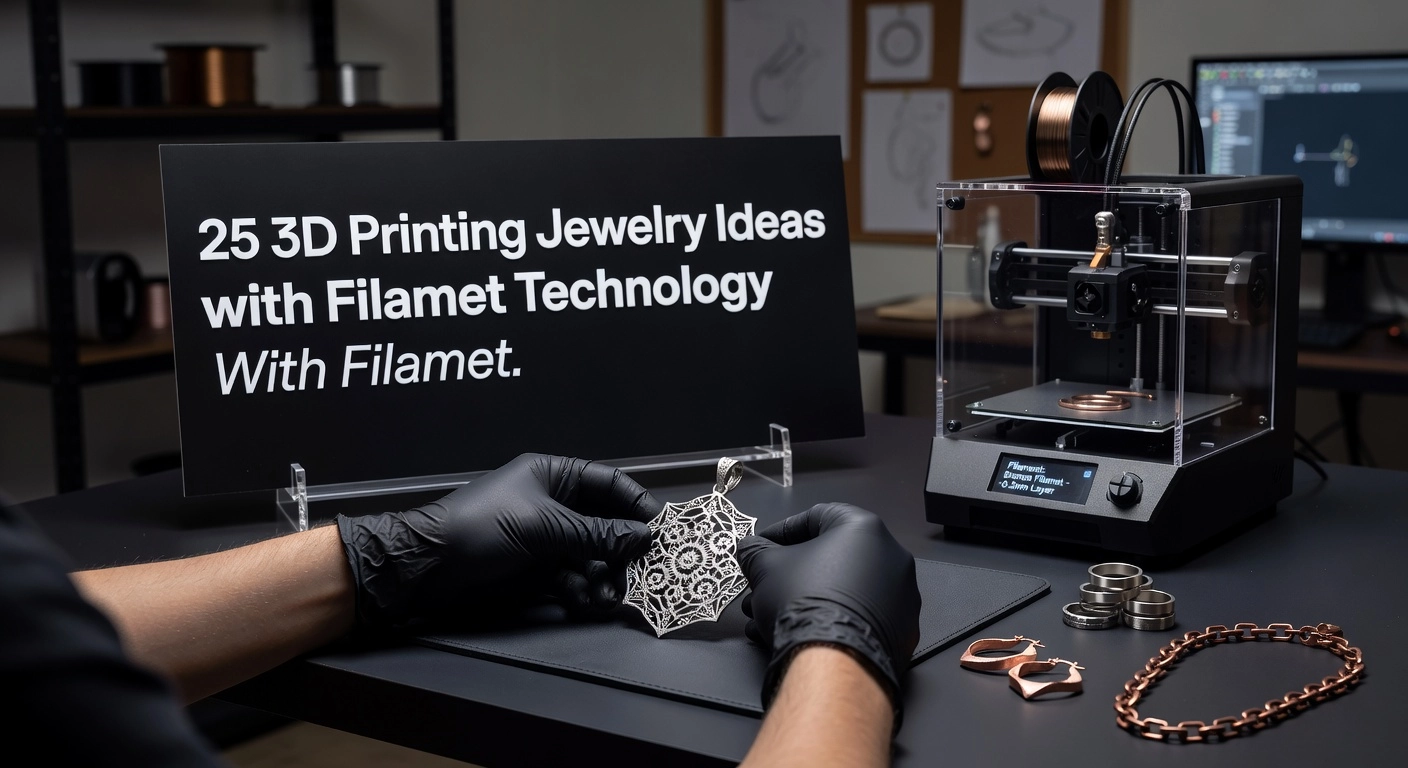
A 2025 Tunghai University study advanced lens tech, achieving 93% transmittance via SLA resins at $30 per unit, producing 14 lenses per eight-hour cycle. This closes prototype-to-production gaps with mold-free optics. Metal printing elevates durability; benchmarks show 384 components printed in 34 hours, but accessible filaments like Filamet™ from The Virtual Foundry make pure metal bezels and heatsinks viable for pros and hobbyists without industrial gear.
Sustainability benefits are profound: on-demand repairs cut waste by targeting tabs over entire assemblies, slashing collision shop discard rates and landfill contributions while supporting eco-friendly EV mandates. Intermediate users can start with these techniques for cost-effective, high-performance 3D print headlight solutions.
Prerequisites for Metal 3D Printing Headlight Parts
Recommended FDM Printers
For 3D printing headlight parts with metal-filled filaments like The Virtual Foundry‘s Copper or Stainless Steel Filamet™, select FDM printers featuring enclosed build volumes and hardened nozzles sized 0.4-0.6mm. Enclosures maintain stable temperatures to prevent warping from the filament’s high density and abrasiveness, while hardened steel nozzles endure extended use without rapid wear. Proven models include the Bambu Lab X1 Carbon for high-speed production, Qidi Tech X-Max for robust handling, Prusa i3 MK3S+ with added enclosure, and budget-friendly Creality Ender 3 series upgraded similarly. These setups ensure reliable prints of heat-exposed bezels or mounting tabs that withstand automotive conditions.
Essential Materials and Software
Stock The Virtual Foundry Filamet™ filaments with 17-90% metal loading, such as CopperFill™ for superior thermal conductivity or Stainless Steel for corrosion resistance. Pair with a sintering furnace capable of 1300°C, support removal tools like pliers and wire brushes, and CAD software like Fusion 360 for designing scaled models accounting for 12-20% shrinkage. Slicers such as PrusaSlicer or Simplify3D require optimization: set nozzle temperatures to 220-240°C, print speeds to 10-20mm/s, layer heights of 0.12-0.3mm, and infill at 70-100% gyroid for dense green parts.
Safety Gear and Prerequisites
Assume intermediate knowledge of G-code tweaks for temperature adjustments. Essential safety includes nitrile gloves for handling, respirators (N95/P100) for post-print powder, heat-resistant gloves for kiln work, safety glasses, and proper ventilation. Always test small batches in your sintering furnace.
A $500 starter kit from The Virtual Foundry delivers pure metal parts denser and stronger than plastic, ideal for durable headlight bezels. Total setup under $2,500 outperforms traditional methods for custom repairs.
Designing Custom Headlight Components
To design custom headlight components for 3D printing, begin by accurately capturing OEM geometry. Use smartphone apps like Polycam with LiDAR or photogrammetry to scan bezels, mounts, or broken tabs on vehicles such as classic Datsun 280Z headlights or Jeep CJ assemblies. Prepare surfaces with dry shampoo for better tracking, achieving sub-0.2mm accuracy when calibrated against known dimensions like mounting holes. Import the mesh into CAD software such as Fusion 360 for cleanup, decimation, and modifications, such as adding flanges for LED retrofits or repairing tabs. This reverse engineering step ensures seamless integration, reducing iteration time by up to 70% compared to manual measurements.
Next, optimize topology to minimize material use while enhancing performance. Follow The Virtual Foundry’s hollow printing guides to create hollow structures with gyroid infill at 15-25% density and 1.2-1.6mm walls, cutting material by 20-50%. Add internal ribs or lattices in high-stress areas to serve as LED heat sinks, improving cooling by 15-25% in compact automotive designs. For metal parts using Filamet™, topology optimization yields heat sinks that lower LED temperatures by 12%, ideal for UV-exposed zones.
Account for sintering shrinkage of 15-20% with Filamet™ filaments by scaling models to 120% in CAD, maintaining uniform wall thicknesses of 2-3mm to prevent warping. Include fillets, escape holes (1.5-3mm), and calibration coupons for debinding at 1070°C+. Test with vertical orientation for even contraction in heat-intensive headlight areas.
Incorporate functional features like M4 threads, knurled inserts, or snap-fits for beam adjustability, inspired by Thingiverse LED grommets for motorcycles. Virtually assemble and test fits in CAD to confirm tolerances before prototyping at 105% scale.
Finally, export as binary STL with 0.1mm deviation and 5° chord tolerance for precision printing. Prioritize materials like ASA or PA-CF for UV/heat resistance (up to 100°C), ensuring automotive-grade durability in high-exposure zones. This workflow enables rapid prototyping of durable metal components, paving the way for printing and finishing.
Printing Headlight Parts with Filamet Filaments
Printer Preparation and Filamet Loading
Begin by ensuring your FDM printer is in a dry environment with humidity below 15% relative humidity to avoid defects in Filamet filaments from The Virtual Foundry. Dry the filament spool at 45-55°C for four hours if it has absorbed moisture, then load it into a direct-drive extruder equipped with a hardened steel nozzle sized 0.6-0.8mm. Use a Filawarmer to straighten the filament before heating the nozzle to 220°C and gently pushing it through. For optimal 3D printing of headlight parts, set the nozzle temperature to 230°C, bed to 60°C, and print speed to 15mm/s; always add a brim for superior bed adhesion on metal-infused parts. These settings produce reliable green parts that withstand the subsequent debinding and sintering processes. Scale your CAD models 12-20% larger to account for shrinkage during sintering.
Slicer Configurations for Headlight Components
Configure your slicer for component-specific needs: use 100% infill for dense bezels and housings to achieve maximum strength post-sintering, while opting for 20% gyroid infill on lighter mounts to balance weight and structural integrity. Set layer height to 0.15-0.2mm, which minimizes the need for supports and yields smooth surfaces ideal for headlight bezels. Employ 4-6 perimeters for wall durability and minimal tree supports for overhanging features like mounting tabs. These parameters ensure uniform metal powder packing, critical for flatness in bezels after processing. Test with small coupons to validate density before full prints.
Printing, Monitoring, and Time Estimates
During printing, monitor closely for nozzle clogs caused by the abrasive metal powder; perform a cold pull or purge with PLA filament between color changes or material switches to clear residue. An enclosed chamber on printers like a modified Ender 3 prevents warping from uneven cooling. A Datsun-style headlight housing, including bezel and mounts, typically prints in 8-12 hours at these settings: 6-8 hours for the full-infill bezel and 2-4 hours for lighter mounts. Expect fist-sized parts to complete the full print-debind-sinter workflow in under five hours of active printing time.
Post-Print Debinding and Sintering
After printing, air-dry the green parts to remove moisture, then debind using a solvent soak for compatible binders or thermal staging in a kiln. Thermal debinding involves ramps from 45-100°C drying, holds at 200-400°C for binder outgassing, with about 12% mass loss. Follow with sintering in a kiln: bronze at 885°C for 1-3 hours in argon, stainless steel 316L at 1250-1350°C in vacuum or hydrogen. Pack parts in alumina crucibles for support during the 12-20% linear shrinkage. Post-sinter, parts reach over 95% density; sand and polish bezels for a professional finish. This workflow delivers heat-resistant, durable metal headlight components ready for automotive use. For detailed guides, visit The Virtual Foundry’s process overview.
Sintering and Finishing for Road-Ready Durability
Achieve road-ready durability for your 3D printed headlight components by mastering sintering and finishing with The Virtual Foundry’s Filamet™ filaments. This process transforms printed “green” parts into high-strength, pure metal (>99%) bezels, mounts, and housings capable of withstanding automotive vibrations and environmental exposure. Prerequisites include a tube furnace capable of 1350°C, hydrogen or argon gas supply (dew point <-40°C), refractory setters, and safety gear for high-heat operations. Expect 15-20% isotropic shrinkage, so scale designs accordingly in your CAD software.
Step 1: Sinter in a Tube Furnace for Dense Metal
Debind green Filamet™ parts at 300-600°C (1°C/min ramp, 30-60 min holds) to remove binders. Ramp to 1100-1350°C material-specifically, such as 1300°C for stainless steel Filamet™, at 5-10°C/min. Hold for 2-4 hours in a reducing atmosphere of 100% dry hydrogen or hydrogen/argon mix to eliminate oxides and achieve >99% pure metal density. Cool slowly to room temperature under inert gas to prevent cracks. TVF’s Filamet™ products excel here, yielding parts with properties rivaling wrought metal, as demonstrated in scalable automotive batches.
Step 2: Use TVF Support Kits to Minimize Distortion
For complex bezels with overhangs, print dissolvable TVF support kits or polymer interfaces on dual-extrusion FDM printers. These burn off cleanly during debinding, reducing warpage by 50-70% on curved, thin-walled geometries. Place parts on alumina setters for even support. Ruby nozzles prevent abrasion during printing.
Step 3: Polish, Coat, and Test for OEM Performance
Media blast sintered “white” parts with glass beads at 80-100 psi to achieve Ra <5 µm smoothness. Anodize aluminum Filamet™ (15-25 µm Type II layer) or apply PVD coatings (TiN, 1-5 µm) for >1000 hours salt spray corrosion resistance and UV stability matching OEM. Verify post-sinter density at 97%+ via Archimedes method; tensile strength hits 500-600 MPa, exceeding PP repairs (20-40 MPa) for high-vibe mounts enduring 10-50g peaks.
Step 4: Quality Assurance and Iteration
Perform dye penetrant testing (ASTM E1417, Level 2-3) to detect cracks or porosity. Analyze first-run warpage data (1-5% typical) with FEA simulations; iterate by adding symmetric supports or thicker bases. This ensures reliable, production-grade 3D printed headlights ready for classics like the Corvette C6 or custom EV mods.
How The Virtual Foundry Succeeds in Metal Printing
The Virtual Foundry has revolutionized metal 3D printing with Filamet™ filaments, priced at approximately $200-400 per kg, enabling pure metal parts on standard FDM printers without multimillion-dollar lasers or industrial setups. This affordability empowers intermediate users to produce functional components like durable stainless steel headlight bezels for classic car restorations or EV prototypes. Print on printers such as Prusa or Ender 3, debind chemically, and sinter in a $500-2,000 kiln to achieve 99%+ dense parts with tensile strengths over 500 MPa and heat resistance ideal for automotive lighting fixtures.
Open Ecosystem Drives Accessibility
Unlike rigid systems, The Virtual Foundry’s community-driven approach shares sintering profiles, shrink rules (15-25%), and webinars freely across forums, allowing any kiln for consistent results. This fosters rapid iteration; for example, users print copper bezels for thermal management in LED housings, scaling from hobbyist projects to low-volume runs at 50-70% cost savings versus traditional machining.
Thousands of users worldwide now create aerospace-grade parts, from rocket engines to radiation-shielded components, with proven scalability to automotive applications like consolidated brackets that reduce assembly time by 75%. Learn more at The Virtual Foundry. Aligning with 2026 trends, Filamet supports EV prototypes, AI-optimized designs, and sustainable just-in-time manufacturing, positioning users ahead in the $17.9 billion automotive 3D printing market by 2032. Details on the process are available here.
Pro Tips and Real-World Headlight Projects
Hybrid Approach: Plastic Lenses with Metal Bezels
Combine high-clarity SLA resins achieving 93% light transmittance with Filamet™ metal bezels for robust full assemblies. Start by printing lenses on a DLP printer using optical-grade resin; post-cure under UV for 30 minutes to minimize haze and match polycarbonate performance. Design bezels in Filamet™ Stainless Steel, sinter at controlled ramps, then assemble with urethane sealant. This hybrid yields heat-resistant (100°C+) units ideal for custom trucks or supercars. Expected outcome: Prototype assemblies in under 24 hours, surpassing traditional optics in customization speed. See researchers evaluate 3D printing for headlight lens manufacturing for benchmarks producing 14 lenses per 8-hour cycle at $30 each.
EV Mods and Repair Hacks
For EV mods, print intake ducts through headlight voids using PETG for turbo cooling; a replica project saved $23K versus OEM parts. Scan OEM housings, model NACA inlets in CAD, and integrate vents. For repairs, print Filamet™ tabs, sinter, and weld to broken assemblies for OEM-compliant fixes per Auto Additive standards, reducing waste on 1M annual US units.
Troubleshooting and Scaling
Address over-sinter porosity with slower ramps (2-3°C/min) and HIP post-processing; consult community forums for optimized profiles. Scale via multi-part nests, benchmarking 384 components in 34 hours for small shops. Test iteratively for porosity under 1%, enabling production runs under $5 per unit. These strategies empower intermediate users to deliver professional 3D printed headlights efficiently.
The Virtual Foundry
Print Real Metal Headlight Parts on Any FDM Printer
Filamet™ metal filaments — copper, stainless, and bronze — let you fabricate true metal bezels, heatsinks, and brackets on standard FFF hardware. No foundry, no industrial equipment.
Conclusion: Actionable Takeaways
Start Small with LED Grommets
Kick off your 3D print headlight projects by printing an adjustable LED grommet using Copper Filamet™ from The Virtual Foundry. This simple part teaches the full workflow: print at 0.2mm layers with a 0.4mm nozzle, debind carefully, and sinter at 950°C for 2 hours to achieve 98% pure copper density. Expect durable, heat-resistant results ideal for functional mods like turbo cooling ducts. Hobbyists report 50% weight reduction versus stock aluminum, perfect for classic cars like the Datsun 280Z.
Leverage the TVF Community and Tools
Join The Virtual Foundry’s vibrant community to share your headlight bezels and mounts. Access free sintering profiles tailored for automotive parts, accelerating your prototypes. Members collaborate on repairs for broken tabs, saving $300 per assembly amid 1 million annual US collision replacements.
Scale with Smart Investments
Invest in a tabletop furnace; ROI materializes quickly by crafting custom parts instead of $4,000 OEM headlights. Print 384 components in 34 hours, slashing prototyping costs in the $17.9 billion automotive 3D printing market by 2032.
Embrace Emerging Trends
Prototype 2026 EV lens-integrated bezels combining 93% transmittance SLA lenses with Filamet™ housings for superior UV resistance.
Download headlight models from Thingiverse today, order Filamet™, and watch for projects like Custom 3D Printed Headlights or 3D Printed Headlight for Classic Cars. Your durable, road-ready innovations await.