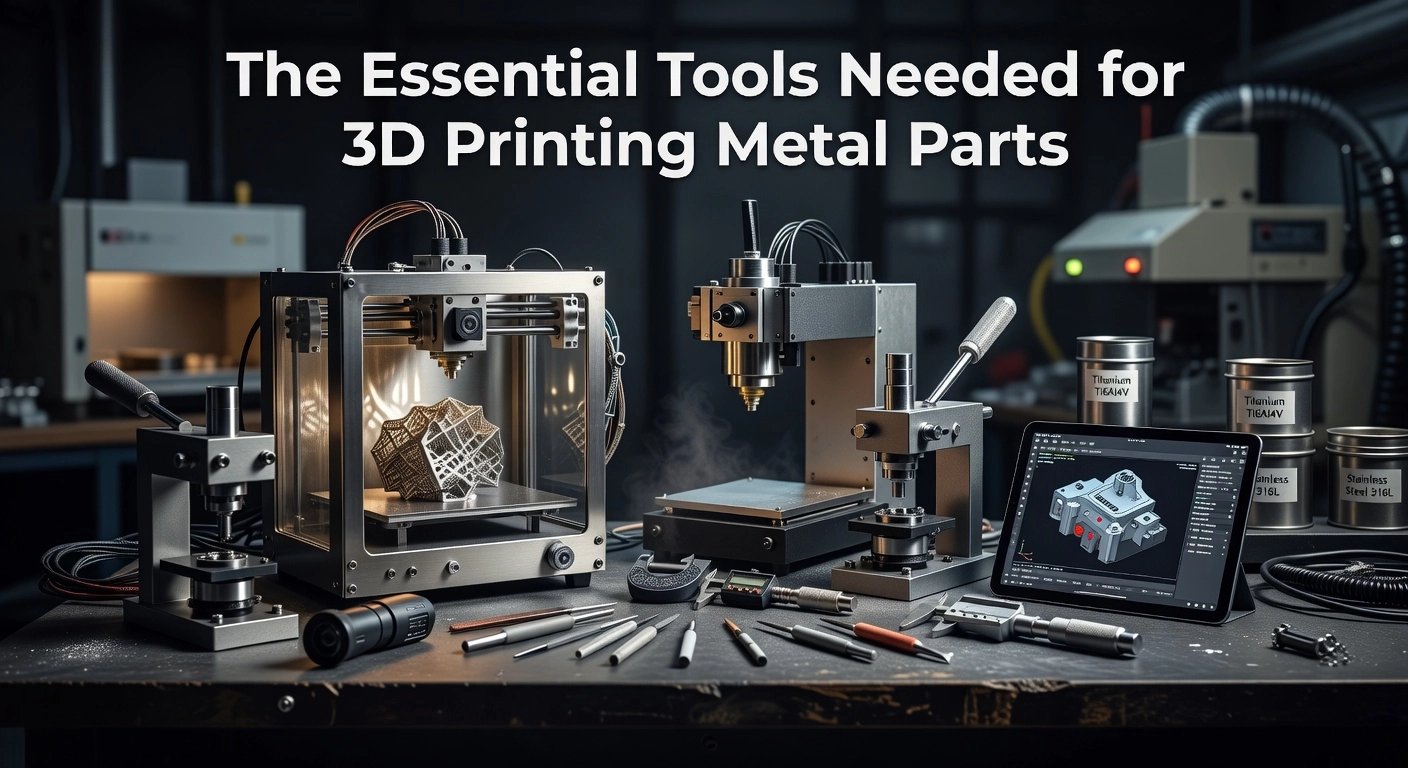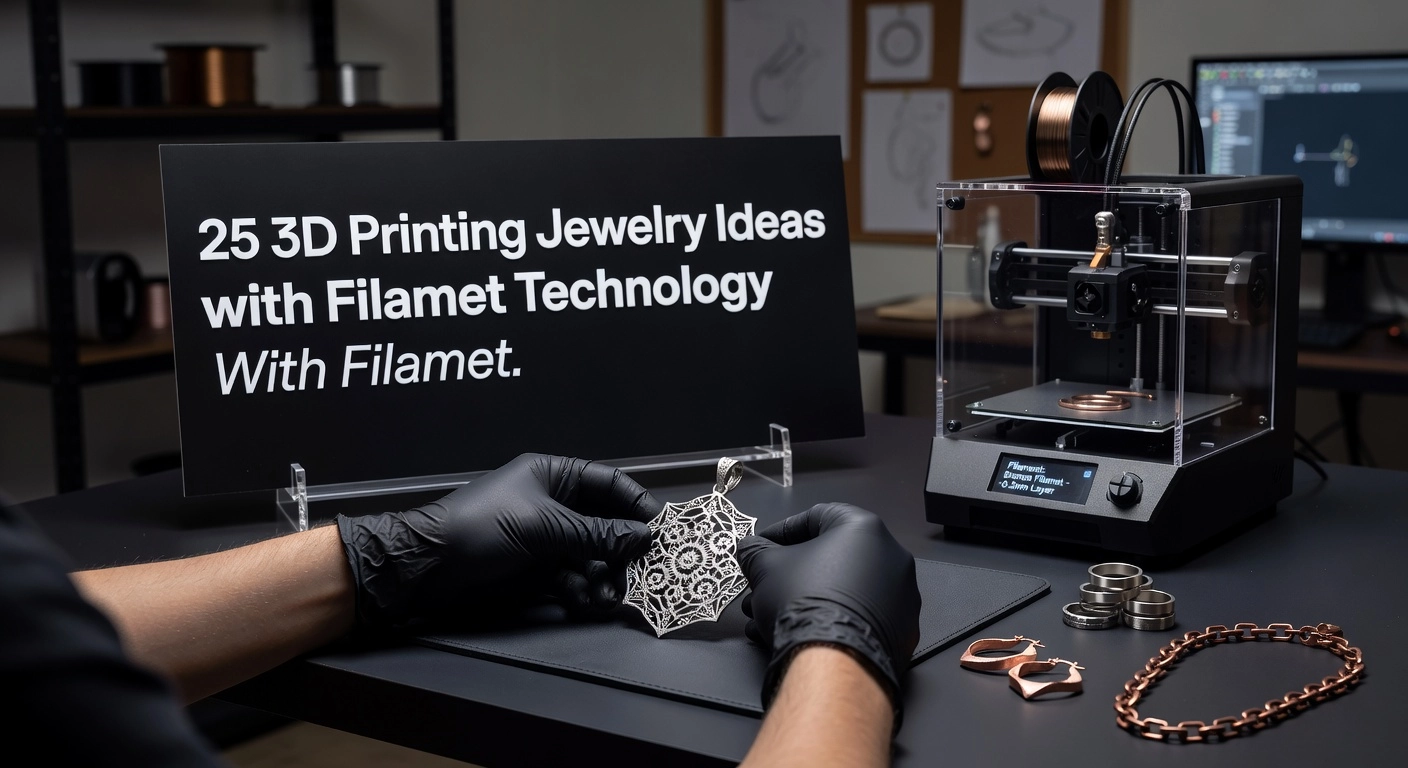
Imagine transforming a simple digital sketch into a wearable masterpiece or a gallery-worthy sculpture, all with the unmatched precision of 3D printing. If you are an intermediate maker ready to elevate your craft, art and jewelry 3D printing unlocks endless creative potential. No longer confined to basic prototypes, you can now produce intricate pendants, filigree rings, and organic forms that rival traditional artisan work.
This pro tutorial equips you with the advanced techniques to achieve professional-grade results. You will dive into parametric modeling for scalable jewelry designs, optimize slicer settings for fine details and smooth surfaces, and select resins or filaments ideal for high-end finishes. Expect step-by-step guidance on support structures that minimize post-processing, color blending for artistic effects, and finishing methods like vapor smoothing or electroplating. By the end, you will confidently print, refine, and sell pieces that stand out in competitive markets.
Master these skills, and art and jewelry 3D printing becomes your signature edge. Let us begin.
Explosive Market Growth in Art and Jewelry 3D Printing
The global 3D printed jewelry market is poised for explosive growth, projected to expand from $4.17 billion in 2025 to $4.89 billion in 2026, according to The Business Research Company. This represents a robust 17.3% compound annual growth rate, fueled primarily by surging demand for personalized pieces that cater to individual tastes. Consumers, especially younger demographics, crave unique designs like custom engravings and one-of-a-kind settings, which 3D printing delivers with unmatched precision and speed. Traditional methods struggle with such complexity, but additive manufacturing enables intricate lattice structures and organic forms directly from digital files. For artists and jewelers at an intermediate level, this means faster iteration cycles, from concept to prototype in hours rather than weeks.
Alternative estimates from Fortune Business Insights paint a similarly promising picture, valuing the market at $870 million in 2025, growing to $980 million in 2026 at a 12.6% CAGR. This positions 3D printed jewelry as a high-growth niche within the broader 16.16 billion overall 3D printing market in 2025. The sector benefits from cost efficiencies in producing small-batch, bespoke items, outpacing conventional casting in waste reduction and design freedom.
2026 Trends Shaping Art and Jewelry 3D Printing
Looking ahead to 2026, mass customization will dominate, enabling trends like iced-out rings with personalized diamond settings and chunky chains featuring sculptural links. Sustainability gains traction through precise material deposition, slashing waste by up to 90% compared to subtractive techniques. AI-parametric designs further revolutionize organic art forms, generating fluid, biomimetic geometries from simple inputs.
Artists leverage this technology for biomimetic sculptures, crafting textures and patinas impossible with traditional tools. The Virtual Foundry’s Filamet™ filaments, loaded with 88-94% metal like bronze or copper, allow standard FDM printers to yield pure metal outputs post-sintering. Print complex infills such as gyroids for lightweight strength, debind, sinter to near-full density, and finish with verdigris patinas; this affordable workflow empowers custom jewelry and art at scale.
Virtual Foundry Success with Filamet Technology
Filamet™ filament from The Virtual Foundry represents a breakthrough in art and jewelry 3D printing, transforming standard desktop FDM printers into capable metal fabrication tools. This composite material, loaded with 75-94% pure metal particles such as bronze, copper, or stainless steel in a biodegradable polymer binder, prints like conventional PLA using open-architecture printers like Prusa or Creality with a hardened steel nozzle (0.4-0.8mm). The process yields a “green” part at layer heights of 0.1-0.2mm, hotend temperatures of 190-240°C, and 70-100% infill for density. Post-printing, debinding removes the binder via thermal ramps to 500°C or solvents, creating a fragile “brown” part. Final sintering in a kiln at temperatures like 900°C for copper, embedded in refractory media such as alumina, fuses particles into dense pure metal parts achieving 80-95% density. Designers compensate for 8-22% linear shrinkage in CAD by scaling models (e.g., XY 1.18x, Z 1.22x), enabling intricate filigree pendants and sculptures with sub-millimeter details.
Democratizing Metal Printing for Artists and Jewelers
The Virtual Foundry’s mission centers on making metal 3D printing affordable and accessible, sidestepping costly SLA resins or PBF systems that demand hundreds of thousands in equipment. Safe filaments in bronze for warm patinas, copper for vibrant finishes, and steel for durability cost around $100/kg, paired with entry-level programmable kilns starting at $500. This setup empowers intermediate users in studios or makerspaces to prototype custom rings, lattice structures, and organic forms without hazardous chemicals or foundry access. Community forums and shared profiles foster experimentation, turning hobbyists into experts. For instance, hollow designs with internal ribs minimize material use and distortion, supporting sustainable practices amid rising demand for personalized jewelry.
Proven Workflows and Case Studies
TVF resources showcase reliable results, such as a bronze filigree pendant case study printed vertically, sintered to 91% density, then tumbled and patinated for daily wear. Copper parametric rings achieve 90%+ density via concentric infill, finished with magnetic polishing for professional luster. See detailed getting started guides for workflows under 48 hours, including 1.2-2mm walls and support-free orientations. These build trust through galleries of green-to-final progressions, proving art and jewelry 3D printing viability for complex geometries. With over 10 years of refinement, TVF sustains a thriving ecosystem for creators.
Prerequisites for Metal 3D Printing Projects
Compatible FDM Printers
To handle Filamet™ effectively for art and jewelry 3D printing, select FDM printers with direct drive extruders, enclosed builds, and hardened steel nozzles (0.4-0.6mm). Recommended models include the Creality Ender 3 series (e.g., V3 SE with Sprite direct drive kit and enclosure) and Prusa printers (e.g., MK4 or enclosed variants). These setups minimize filament friction and maintain temperature stability, essential for printing intricate lattice rings or textured sculptures. Hang the spool above the printer to reduce drag, and test with TVF calibration coupons at 50% PLA speeds for reliable green parts. Budget options like Ender 3 start at $200, upgraded for under $300 total.
Filamet™ Filaments
Opt for 1.75mm Filamet™ variants: Copper and Bronze for jewelry (lattices, filigree pendants with 12-18% shrinkage and stunning patinas), Stainless Steel (316L) for art (tarnish-resistant sculptures). Store in sealed bags with desiccant at room temperature; use a dry box in humid areas to preserve the biodegradable binder. Spools (0.5-1kg, $100-200) yield pure metal parts at 91%+ density post-sintering, dropping costs to $1.40 per bronze ring.
Software Tools
Design in Fusion 360 (scale 1.18x XY/1.22x Z for copper; 1.2-2mm walls) or Blender for organic jewelry forms. Slice with PrusaSlicer using TVF profiles (220-250°C nozzle, 135% flow, 0.1-2mm layers). Download from TVF resources.
Sintering Setup
Equip a programmable kiln (1100-1350°C, e.g., TVF ParaStat kits ~$500+), alumina crucibles, refractory ballast, and safety gear (gloves, respirator, ventilation). Combine debinding (ramp to 482°C, 4hr hold for Cu/Bronze) and sintering in one cycle. Follow TVF debind/sinter guides for precise ramps and witness bars, ensuring distortion-free results for complex geometries.
Design Principles for Intricate Art and Jewelry
Lattice Structures and Filigree for Lightweight Pendants
Incorporate lattice structures and filigree designs to create pendants that are both lightweight and robust when using Filamet™ for art and jewelry 3D printing. These open-cellular networks, such as gyroid or truss lattices, reduce weight by 50-70% while distributing stress evenly for superior strength post-sintering. Target wall and strut thicknesses of 0.2-0.4 mm in your green state models; this ensures they withstand the 15-20% volumetric shrinkage during sintering, resulting in final features around 0.16-0.32 mm thick. Use tools like nTopology or Fusion 360’s lattice generator to align struts with load paths, printing vertically to minimize supports. For example, a filigree pendant with 0.3 mm struts printed in bronze Filamet™ emerges delicate yet durable after processing. Always test with calibration prints to verify integrity.
Hollow Models with Internal Ribs for Rings and Earrings
Design hollow models reinforced with internal ribs to cut material use by up to 50% and prevent distortion in rings and earrings. Aim for 80% infill void space using gyroid or honeycomb patterns at 20-35% density, which traps air for thermal insulation during sintering and reduces warpage. Maintain 1.0-1.5 mm outer walls with 0.8 mm minimum ribs in high-stress areas, plus 1-2 mm vents for binder escape. This approach, detailed in The Virtual Foundry’s hollow 3D printing guide, shortens sinter cycles and yields dense metal parts. A hollow bronze ring shank with ribbed interiors, for instance, sinters flat with double-digit cost savings.
Organic Forms and Parametric Tools for Sculptures
Craft organic, biomimetic sculptures using parametric tools like Rhino/Grasshopper for textures inspired by nature, such as Voronoi patterns or coral lattices. Design with overhangs under 45 degrees for self-supporting prints or tree-like supports that detach cleanly, preserving surface details. These forms excel in Filamet™ for one-off art pieces with patina finishes.
Post-Processing Optimization
Add 2-4 mm sprues at high points for uniform sintering and scale models up by 20-25% to compensate for shrinkage, per TVF data. Vents and refractory cradles further minimize distortion, ensuring professional results.
Printing Workflow with Metal Filaments
Model Preparation
Begin by preparing your CAD model in software like Fusion 360 or Rhino, accounting for Filamet™’s 15-20% anisotropic shrinkage during sintering; scale up uniformly by 20% for most jewelry and art pieces, such as filigree pendants or bronze sculptures. Orient the model to minimize supports on visible surfaces, favoring 45-degree overhangs and vertical printing for rings to preserve intricate details. For optimal results, hollow designs per The Virtual Foundry’s hollow print guides, using 0.8-2mm walls, escape holes, and internal ribs to save 30-50% material. Slice in PrusaSlicer or Cura with 0.2-0.3mm layers, 100-120% extrusion multiplier tuned via calibration cubes, and nozzle temperatures of 230-250°C specific to Filamet™ types like Bronze or Copper.
Printing Execution
Print at 30-50mm/s on a build plate coated with glue stick for adhesion, maintaining a 40-60°C bed. Monitor the first layer closely for 85-95% filament loading; adjust Z-offset in 0.02mm increments to avoid under-extrusion or elephant’s foot. For small jewelry like earrings, add a 10-20 line brim or raft to prevent warping.
Inspection and Troubleshooting
Pause at 50% height to inspect bridging and remove stringing. Common issues like stringing resolve with 0.5-1mm retraction, low travel speeds, and dry filament stored with desiccant, as detailed in TVF’s printing guide. This workflow ensures dense green parts ready for debinding and sintering.
Sintering and Post-Processing Techniques
Debinding: Removing Binders Safely
After printing with Filamet™ filaments, debind the green parts to eliminate polymer binders before sintering. This critical step creates porous brown parts that allow gases to escape during firing, preventing defects like cracks or blisters. Choose solvent debinding by submerging in acetone or alcohols for 2 hours, ideal for intricate jewelry features due to its speed and shape retention. For production runs, opt for thermal debinding in a kiln with staged ramps, such as 55.6°C per hour to 482°C with a 4-hour hold for bronze or copper Filamet™. Monitor mass loss at 40-82 percent and ensure proper ventilation for off-gassing. The Virtual Foundry provides detailed profiles in their master metal sintering step-by-step guides to achieve consistent results.
Sintering in the Kiln
Transfer debound parts to a programmable kiln using alumina crucibles packed with refractory powder like magnesium silicate to manage shrinkage. Ramp temperatures gradually over 8-12 hours to 1050-1150°C, with holds tailored to metal type: for example, copper at 1052°C for 5 hours or stainless steel up to 1350°C. This fuses metal particles to 92-99 percent density below the melting point. Use independent thermocouples for accuracy, as readouts can vary by 38°C, and incorporate sintering carbon for oxygen control. Total cycles range from 12-20 hours plus cooling. Follow The Virtual Foundry’s jewelry case study for optimized profiles yielding high-density pendants and rings.
Handling Distortion and Shrinkage
Expect 16-20 percent linear shrinkage during sintering, so scale CAD models by the inverse factor, like 1.19x for 16 percent. Embed hollow jewelry or sculptures in powder for uniform support, preventing warping in lattices or filigree. Tamp powder evenly with 15mm clearance around parts and measure final dimensions post-cool for precision.
Finishing for Professional Results
Polish tumbled parts with brass wheels and Zam compound to remove layer lines. Apply patina via liver of sulfur for bronze depth or electroplate with gold over copper bases for jewelry shine. Seal oxidation-prone pieces with lacquer. Consult The Virtual Foundry’s finishing tutorials for pro techniques on sculptures and custom art. These steps elevate art and jewelry 3D printing to production quality.
Real-World Examples and Artist Case Studies
Filigree Pendants and Lattice Rings with Copper Filamet™
Artists and jewelers have successfully printed intricate filigree pendants and lattice rings using Copper Filamet™, achieving pure copper parts after sintering for custom sales. These designs feature sub-millimeter webs and 0.5mm details, printed on standard FDM printers like the Prusa MK4, then debound and sintered with 14.8% shrinkage to 91.6% density. Post-processing involves tumbling with plastic cones progressing to porcelain, hand-polishing, and applying patina such as liver-of-sulfur for vibrant blues and greens, sealed for durability. Lattice rings benefit from parametric CAD scaled 1.18x in XY and 1.22x in Z, sintered vertically in Magic Black Powder supports, yielding mirror-polished pieces in under three hours at $15 material cost per ring. This enables 48-hour custom deliveries and 40% catalog expansions, perfect for client-iterated fits with reddish tones.
Organic Bronze Sculptures and TVF Workflow
Organic bronze sculptures showcase textured, layer-by-layer surfaces using Bronze Filamet™, patina-finished for gallery display via The Virtual Foundry’s Print-Debind-Sinter workflow. Biomimetic forms with gyroid or honeycomb infills reduce weight by 30-50%, surviving debinding to 500°C and sintering to 900°C without cracking, resulting in warm golden-brown tones. Finishing includes rouge buffing to mirror polish before patina application, enhancing depth that evolves naturally. A jeweler’s signet ring collection demonstrates organic textures ideal for metal 3D printing benefits.
TVF Case Study and Community Trends
The Virtual Foundry’s jewelry case study highlights direct metal printing solving intricate designs like 0.6mm filigree and undercuts, outperforming traditional methods for rapid prototyping and one-offs at under $15 per part. Community shares on Etsy and Reddit feature earrings inspired by Great Wave motifs and statement cuffs, aligning with 2026 trends in sustainability through 90% waste reduction and personalization via editable designs. Users report weekly additions for mass customization, tying into a market growing to USD 4.89 billion. For best results, optimize CAD for shrinkage and test fits pre-sinter.
Emerging Trends and Advanced Tips
AI Tools for Generative Jewelry Designs
Integrate generative AI tools like Midjourney or Meshy.AI to accelerate customization in art and jewelry 3D printing. Input text prompts such as “intricate filigree necklace with organic motifs” to generate 3D models in minutes, enabling rapid iterations for personalized pieces. Export to Rhino or Fusion 360 for Filamet™ printing, reducing design time by 80% compared to manual CAD. This scales production for artists creating unique pendants or rings, with human oversight ensuring printability and ergonomics. Actionable insight: Combine AI outputs with AR try-ons to cut client revisions by 25%, fostering mass customization.
Sustainability Gains with Filamet™
Filamet™ slashes waste by 60-90% over traditional casting, producing near-zero scrap through additive precision. Print on-demand bronze or copper parts for jewelry, sinter to pure metal, and align with 2026 eco-trends like recycled materials. The global 3D printed jewelry market hits $4.89 billion in 2026, driven by such sustainable shifts (GIA on AI in design). Tip: Design hollow structures with internal ribs to minimize material use and distortion.
Hybrid Electroplating for Hip-Hop Styles
Electroplate SLA-printed bases with copper paint, then nickel and gold for mixed-metal hip-hop chains or iced-out rings. This yields durable, heavy-feel pieces without alloys, ideal for chunky, sculptural designs. Print articulated links at 50μm resolution, plate at 0.5-1.2V for even thickness. Rotate parts during plating for uniformity; vent fumes for safety. Artists scale bold statements effortlessly.
High-Res Future and TVF Accessibility
Expect 25μm resin advancements for milgrain details, but Filamet™ keeps metal printing accessible on $300 FDM setups for hobbyists to pros. NASA-proven scalability supports production without multimillion-dollar gear. Tip: Prototype in resin, produce in Filamet™ bronze for seamless workflows.
Actionable Takeaways to Launch Your Creations
Begin your journey in art and jewelry 3D printing by loading bronze Filamet™ into your compatible FDM printer. Design a simple ring in CAD software like Fusion 360, scaling the model by 20% to account for sintering shrinkage. Print at standard settings with a hardened nozzle, then follow The Virtual Foundry’s precise sintering guide for debinding and high-temperature firing to yield pure bronze. This hands-on project builds confidence for intricate designs like filigree or lattice structures.
Join The Virtual Foundry community to access shared print profiles, troubleshoot common issues such as warping, and draw inspiration from artist showcases. Experiment with hollowing models using internal ribs for material efficiency and reduced sintering distortion; track shrinkage rates across batches to ensure repeatability in jewelry production lines.
Scale up to art commissions by rapidly prototyping custom sculptures or personalized pieces, then apply professional finishing like patina and polishing. Capitalize on the 3D printed jewelry market’s growth from $4.17 billion in 2025 to $4.89 billion in 2026. Order Filamet™ today to affordably transform your ideas into pure metal masterpieces.
Conclusion
This pro tutorial has equipped you with essential advanced techniques: parametric modeling for endlessly scalable jewelry designs, slicer settings optimized for fine details and smooth surfaces, material choices like premium resins and filaments for high-end finishes, and finishing methods such as vapor smoothing and electroplating to minimize post-processing.
These tools transform intermediate makers into professionals capable of producing intricate pendants, filigree rings, and organic sculptures that rival artisan work and thrive in competitive markets.
The value is clear: unlock your creative potential and turn digital sketches into wearable masterpieces ready for sale.
Take action now. Fire up your 3D printer, experiment with your first pro-level project, and share your results in the comments below. Your next gallery piece or bestseller awaits, so start printing with confidence today.