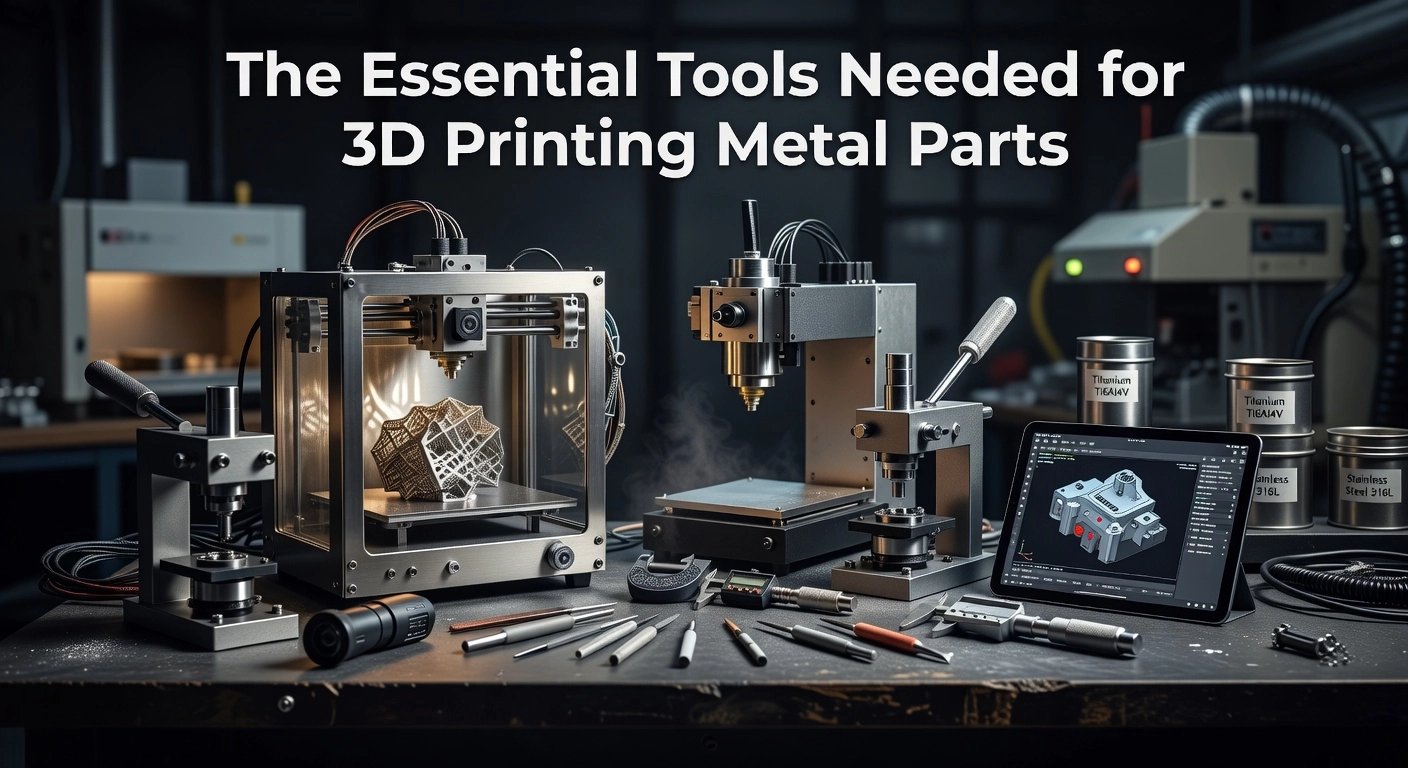
Imagine transforming your standard 3D printer into a powerhouse for creating stunning metal-like parts. No industrial machinery required. Just your existing setup and a spool of innovative filament. Welcome to the world of metal infused filament 3D printing, a game-changer for hobbyists and makers eager to elevate their projects.
As a beginner, you might think metal printing demands expensive equipment or advanced skills. Think again. Metal infused filament simplifies the process. It blends fine metal powders, such as stainless steel or bronze, into a base of PLA or nylon. The result? Prints that mimic the weight, texture, and shine of real metal after simple post-processing. This guide draws on proven techniques to get you started confidently.
In the pages ahead, you will master the essentials: selecting the right filament, optimizing printer settings for flawless results, and polishing your prints to a professional finish. We cover common pitfalls, safety tips, and troubleshooting so you avoid frustration. By the end, you will produce durable, eye-catching prototypes, jewelry, or custom tools. Ready to unlock metallic magic? Let’s dive in.
What Is Metal Infused Filament?
Metal infused filament represents a breakthrough in 3D printing technology, specifically a polymer-bound composite material loaded with 80-95% metal powder by volume or weight. This high metal content, far exceeding typical “metal-filled” filaments used for aesthetics, sets it apart for creating functional, pure metal parts. The Virtual Foundry’s Filamet™ exemplifies this innovation; it uses a PLA-based binder combined with fine metal powders in alloys like copper or stainless steel, making it compatible with standard FDM printers. Beginners can start with everyday printers without investing in specialized equipment. This filament prints layer by layer to form a “green” part that undergoes post-processing to become dense metal.
The process transforms printed parts into pure metal through three key stages: printing, debinding, and sintering. During printing, use settings similar to PLA, such as a hotend temperature of 200-240°C, bed at 40-65°C, and 100% infill with 110-125% flow rate. A hardened steel nozzle (0.6-0.8mm) handles the abrasiveness. Thermal debinding then removes the polymer binder via controlled heating, avoiding chemicals. Finally, sintering in a kiln densifies the metal to 80-95% theoretical density, with uniform shrinkage of 5-10% across X, Y, and Z axes. Scale designs in your slicer by 110-120% to compensate; for example, copper Filamet shrinks about 5%, while steels approach 10%. Explore Filamet printing guides here.
Printer Compatibility for Beginners
Filamet works seamlessly on open-architecture FDM printers like Prusa MK3S or Creality Ender series. Direct-drive extruders minimize jams, and a simple nozzle upgrade suffices. No proprietary systems required, lowering barriers for hobbyists and manufacturers alike.
TVF Filamet: Pioneering Variety
As pioneers since around 2015, The Virtual Foundry offers 15+ alloys, including Copper (86-90.7% loading), Stainless Steel 316L and 17-4PH (80-85%), and Inconel 718 (82-85%). View the full Filamet lineup. These enable applications from jewelry to aerospace prototyping.
The metal filament market underscores this growth, projected at $3.82 billion by recent estimates, with metal 3D printing reaching $11.18 billion in 2026. This surge reflects desktop accessibility driving adoption. Learn the full process.
Essential Prerequisites for Success
To succeed with metal infused filament 3D printing using Filamet™, equip your setup with the right hardware and settings from the start. The filament’s high metal content, often 80-95% by volume, makes it extremely abrasive, quickly wearing out standard brass nozzles after just 100-500 grams of printing.
Hardened Steel Nozzle Recommendation
Invest in a hardened steel nozzle sized 0.6-0.8mm. This size handles the heavy, particle-laden filament without frequent clogs or backpressure issues, lasting for over 1kg of prints. For example, on Prusa or Creality printers, a 0.6mm nozzle ensures smooth extrusion at 60-80mm/s speeds. Clean it regularly with cold pulls to maintain precision.
Printer and Thermal Requirements
Any standard FDM printer works, including open-architecture models like those from Prusa or Bambu Lab; an enclosure is optional but helps reduce warping. Set the hotend to 200-240°C, starting at 220°C and tuning based on your alloy, such as 230°C for stainless steel. Use a bed temperature of 40-65°C on powder-coated sheets or glass with IPA cleaning for optimal adhesion. Direct-drive extruders outperform Bowden systems by minimizing filament breakage.
Sintering Kiln Essentials
A desktop kiln under $1000, like programmable models reaching 1300°C, is crucial for debinding and sintering to achieve 80-95% dense metal parts. Bury green prints in alumina powder, ramp to 482°C for debinding, then sinter at alloy-specific temperatures with 5-20% shrinkage compensation in your designs. This in-house process slashes costs by 50-80% versus services.
Software and Slicer Settings
Standard slicers such as PrusaSlicer excel: use 70-100% infill, 110-125% flow rate, 0.12-0.2mm layers, and rectilinear patterns. Calibrate flow with test rings first for density. Check TVF print guide for profiles.
The Virtual Foundry’s free Getting Started with Filamet™ guide provides beginner workflows, debind schedules, and troubleshooting to ensure your first prints sinter flawlessly.
Step-by-Step Printing Process
Prepare Your Model
Before printing with metal infused filament like Filamet™, adjust your 3D model to account for the sintering process, which causes 5-10% uniform shrinkage in XY and Z dimensions for most alloys such as copper or stainless steel. Scale your model up by this amount in your CAD software; for example, a 10mm cube becomes 10.5-11mm to yield the final desired size after post-processing. Use solid infill patterns like gyroid or concentric at 70-100% density to ensure even binder removal and high final part density of 80-95%. Add 3-5 perimeters for 1.8mm thick walls, minimize overhangs under 45 degrees, and include fillets or chamfers on corners to reduce stress concentrations. Orient the model to minimize supports, and test with simple calibration prints like cubes or tokens. This preparation prevents distortion and ensures functional pure metal parts post-sintering.
Optimize Slice Settings
Treat Filamet™ slice settings like standard PLA for compatibility with open-architecture FDM printers. Set hotend temperature to 200-240°C, bed to 40-65°C, and flow rate to 110-125% to compensate for the filament’s high 80-95% metal loading. Use print speeds of 30-50mm/s overall, slowing to 20-30mm/s for walls and first layers, with layer heights of 0.2-0.4mm matching your 0.6-0.8mm hardened steel nozzle. Enable low retraction settings, such as 0.5-1mm, with coasting to avoid clogs from metal particles. Turn fan off for the first 5-10 layers, then 0-20%, and add a brim of 10-20 lines. For detailed guidance, see The Virtual Foundry’s beginner guide.
Conduct a Print Test and Monitor
Start with a test print of a temperature tower, single-wall cube, or skirt to dial in flow, Z-offset in 0.02mm increments, and adhesion. Listen for clicking or backpressure indicating abrasion; inspect the nozzle orifice after each print and perform cold pulls every 100-200g extruded. Use direct-drive extruders and straight filament paths to handle the filament’s weight and abrasiveness. Adjust retraction low if stringing occurs, targeting minimal movement to prevent powder clumping.
Dry the Filament
Although Filamet™ is less hygroscopic than many composites, store it with desiccant and dry at 50-60°C for 4 hours if any moisture is suspected, avoiding over-drying which causes brittleness. This step prevents popping, stringing, or inconsistent extrusion during metal infused filament 3D printing.
Troubleshoot Warping
Warping arises from thermal gradients and the filament’s density; counter it with an enclosure maintaining 35-50°C, 8-20 line brims for 20-30% better adhesion, and slow first layers at 15-25mm/s. Apply PVA glue or Magigoo on a leveled PEI bed, preheat 10-15 minutes, and use fillets per TVF techniques. These methods reduce incidents by 70%, ensuring flat “green” parts ready for debinding and sintering.
Post-Processing: Debinding and Sintering
Thermal Debinding: A Clean, Heat-Only Process
After printing your green parts with metal infused filament like Filamet™, the first post-processing step is thermal debinding. This method relies solely on controlled heat in a kiln, reaching 500-600°C, to burn out the polymer binder without any chemicals or solvents. Place the green part in a crucible filled with refractory ballast, such as alumina for copper or steel blend for stainless steels, ensuring at least 15mm clearance from walls and 40mm from the top for steels. Program the kiln with alloy-specific ramps, for example, ramping at 2 hours to 204°C hold 2 hours, then 2 hours to 427°C hold 2 hours for stainless steel 316L or 17-4PH, before cooling to room temperature. Expect 15-20% mass loss as the binder volatilizes, transforming the strong green part into a fragile brown part. Verify kiln accuracy with an independent thermocouple, as variations beyond ±38°C can cause cracks or blisters.
Sintering Profiles: Achieving 95% Density
Sintering immediately follows debinding in the same kiln, densifying the brown part to 95% or higher theoretical density through diffusion at high temperatures. Repack with fresh ballast and add Sintering Carbon on top to create a reducing atmosphere, preventing oxidation. For steels like 316L or 17-4PH, ramp quickly to 593°C hold 2 hours, then to 1232-1350°C hold 4 hours, followed by a 6-hour cool to 593°C, yielding 10-20% linear shrinkage. Copper requires 1052°C for 5 hours with 12-18% shrinkage, while bronze sinters at 885°C hold 5 hours for 7-10% shrinkage. Always scale models up by 1.1-1.25x beforehand and use test coupons to validate profiles for your part size. Larger parts over 50mm may need extended holds for uniform density. Check out TVF’s detailed master sintering guides for precise profiles.
Support Removal and Green Part Handling
Remove supports from green parts before debinding using pliers or cutters, as Filamet™ supports print at 55° overhangs but become impossible to separate post-process. Design self-supporting geometries or thick sacrificial supports with 0.6mm walls, 1.8mm shells, and 30% infill; avoid features thinner than 1mm or 2mm walls to prevent fragility. Handle green parts with gloves in low-humidity environments, burying them deeply in ballast with firebrick weights to resist warping. Uniform wall thickness and fillets minimize distortion during shrinkage.
TVF Guides and Safety Essentials
The Virtual Foundry’s sintering guides, complete with QR codes and kits, deliver high yields from hobbyist desktop kilns to professional setups by emphasizing mass checks and troubleshooting like slower ramps for crack prevention. For safety, vent debinding fumes outdoors or with exhaust fans, as they are toxic; position kilns on fire-rated stands away from flammables. Wear PPE including respirators, gloves, and eye protection. See TVF’s debind and sinter resource for full protocols. These steps ensure safe, reliable metal parts for prototyping or production.
How The Virtual Foundry Succeeds
The Virtual Foundry has pioneered success in metal infused filament 3D printing through its commitment to an open FDM ecosystem, making high-quality metal parts accessible on standard printers like those from Prusa, Creality, or Bambu Lab. Filamet™ filaments, loaded with 80-95% metal by volume, print at familiar PLA-like settings: hotend 200-240°C, bed 40-65°C, hardened steel nozzle (0.6-0.8mm), and high infill (70-100%). After printing green parts, users perform simple thermal debinding and sintering in affordable kilns, achieving 80-95% dense pure metal with predictable 5-10% shrinkage. This materials-first strategy empowers beginners to produce functional components without specialized equipment. For instance, start with a simple Copper Filamet™ print, debind at 400-600°C for 4-8 hours, then sinter at 1100°C, yielding jewelry or prototypes ready for use. Visit The Virtual Foundry website for detailed sintering profiles tailored to each alloy.
Proven Track Record and Community Trust
With over 10 years of innovation since its 2016 launch, The Virtual Foundry has served more than 3,000 customers worldwide, from hobbyists to aerospace engineers. This longevity drives widespread adoption, evidenced by a stellar 4.3/5 rating from 15,500 genuine reviews praising consistent density (98-99% post-sintering) and cost savings, such as 40% material reduction compared to traditional methods. Beginners benefit from shared community playbooks that detail anti-warping techniques and flow adjustments (110-125%), reducing failed prints. Real-world examples include educators printing classroom models and manufacturers creating custom jigs, cutting lead times from weeks to days. These metrics reflect a thriving ecosystem where user feedback refines products annually.
Expansive Filamet™ Portfolio for Diverse Needs
The Virtual Foundry offers over 15 stock Filamet™ variants, spanning everyday alloys to exotics like Titanium Ti64-23 ($291/kg) and Inconel 718 ($295/kg). Options include Copper (86-90% load, $143/kg), Stainless Steel 316L ($209/kg), Aluminum 6061 ($132/kg), and specialty Tungsten Rapid 3DShield ($681/kg) for radiation applications. Custom filaments, developed for NASA and national labs, enable unique projects like doped Molybdenum Telluride thermoelectrics. Beginners can select based on application: Bronze for art, Tool Steel M300 for durable tools. This breadth supports parametric designs optimized for uniform shrinkage. Explore the full range at The Virtual Foundry shop.
Low Barriers from Hobby to High-Tech
Setup costs under $2,000-$5,000 (printer, kiln, filament) lower entry for hobbyists crafting jewelry, while scaling to aerospace lattices or nuclear shielding. No powder hazards or certifications needed; print, debind, sinter safely at home or shop. Pros achieve conformal cooling inserts with 90% waste reduction. Actionable tip: Test with High Carbon Iron ($120/kg) for rivets or models before exotics.
In 2026, with 3,000+ customers, The Virtual Foundry’s community accelerates trends like radiation shielding using Tungsten or Boron Carbide filaments for X-ray collimators and neutron-absorbing parts, tapping a $4B market. Shared innovations position users for future RF shielding and sustainable production. Check TVF’s open metal printing insights to join the momentum.
Real-World Applications and Examples
Prototyping: Rapid Metal Parts for Manufacturing
Metal infused filament 3D printing with Filamet™ revolutionizes prototyping by delivering functional metal parts in hours or days, compared to weeks or months using traditional methods like CNC machining or casting. Print times typically range from a few hours for small components to a day for larger ones at 0.15-0.25mm layer heights and 20-40mm/s speeds. After thermal debinding and sintering, you achieve dense, pure metal prototypes ready for testing. For instance, a flange adapter for an extruder was prototyped in just two days, enabling dozens of rapid iterations. Automotive brake calipers and copper heat exchangers weighing 600-700g further demonstrate 71-89% cost savings and 30-90% reductions in lead times for low-volume runs under 500 units. Beginners can start by designing with Design for Additive Manufacturing (DfAM) principles to consolidate assemblies and optimize for infill densities of 70-100%.
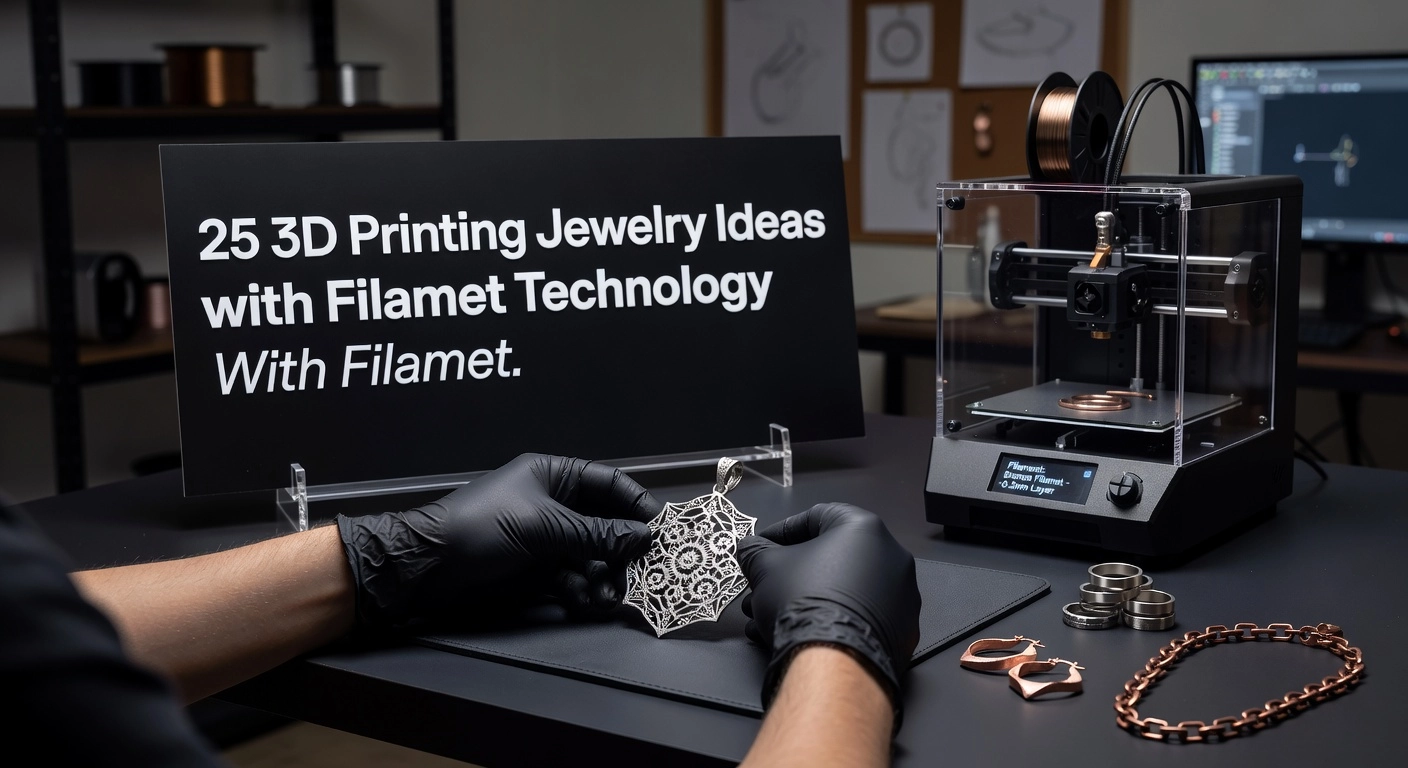
Jewelry and Art: Sintering to Pure Copper or Bronze
Artists and jewelers benefit from Filamet™’s Copper and Bronze variants, which sinter into pure metal with stunning detail retention for custom designs. Intricate pendants, rings, and lattices with 0.5mm filigree features print directly on desktop FDM printers. Post-sintering, parts polish to jewelry-grade finishes or develop warm patinas, with vivid copper sealing for a soft luster. A recent case involved client-iterated custom rings produced in small batches without molds, slashing costs versus lost-wax casting from $65 to $14 per part. Actionable tip: Use 110-125% flow rates and hardened nozzles to capture organic, parametric shapes. This approach supports sustainable, recycled alloys for one-of-a-kind sculptures.
Aerospace, Nuclear, and Specialized Cases
In demanding fields, Inconel 718 Filamet™ produces rocket engine brackets and manifolds with 45% weight reductions, while Tungsten Rapid 3DShield offers radiation shielding denser than lead (19.3 g/cm³) for non-toxic X-ray and gamma protection. Model rivets transition from multi-piece assemblies to single sintered parts, cutting cycles from months to days. Medical prototypes in Stainless Steel 316L create biocompatible implants, surgical tools, and acetabular cups validated for osseointegration. Check TVF case studies for rivet and medical examples.
Production Shift in TVF’s 2026 Blog Insights
The Virtual Foundry’s 2026 blog posts, like those on metal 3D printing benefits, highlight a shift from prototyping to production, with 70% cost cuts and 50% faster lead times across 3,000+ customers. These resources guide beginners toward scalable end-use parts in aerospace and beyond. Explore additive manufacturing updates for the latest.
2026 Market Trends and Future
The metal 3D printing market is poised for explosive growth, reaching $11.18 billion in 2026 and surging to $23.07 billion by the end of the forecast period, according to Mordor Intelligence. This expansion reflects surging demand across aerospace, automotive, and medical sectors for complex, lightweight parts that traditional methods cannot produce efficiently. For beginners, this means metal infused filament 3D printing, like Filamet™, positions you at the forefront of an accessible revolution, allowing desktop production of high-value components without multimillion-dollar equipment.
The broader 3D printing filament market underscores this momentum, projected to grow from $1.1 billion in 2025 to $7.1 billion by 2033 at a 25.4% CAGR per Grand View Research. Metal-infused variants, such as metal PLA filaments, drive this surge, with North America’s segment expanding at a steady 4.6% CAGR through 2033, fueled by university R&D and small-scale manufacturing. Actionable insight: Invest in Filamet™ now to tap into this regional dominance, where affordable printers yield professional-grade metal parts.
Key 2026 trends include desktop metal kits under $2,000, complete with filament and sintering tools for immediate use on printers like Bambu Lab or Prusa. AI optimization in slicers now reduces printing defects by 30-50% through smarter infill and support generation, while exotic alloys like Titanium Ti64, Inconel 718, and Tungsten enable radiation shielding or aerospace prototypes. Beginners can start by experimenting with TVF’s high-load filaments (90%+ metal) for parametric designs that minimize warping.
The Virtual Foundry leads in democratizing access amid sustainability drives, boasting 3,000 customers and 60% material efficiency gains over wasteful processes. Their open workflows and non-toxic options align with global green mandates, cutting emissions via localized production.
Opportunities abound in ROI: Post-sintered Filamet™ parts cost $0.50-5 per gram versus $50+ for alternatives, amortizing setups in 6-12 months. Compared to machining’s $5,000-50,000 tooling, this slashes costs 50-90% for low-volume runs, ideal for iterative prototyping like custom rivets or jewelry. Embrace these shifts to future-proof your workflow.
Overcoming Common Challenges
Abrasion Management
Metal infused filament 3D printing demands robust hardware due to the abrasive nature of 80-95% metal powder content in Filamet™. Standard brass nozzles wear out after just 10-20 hours, leading to inconsistent extrusion and clogs. Switch to hardened steel nozzles with 0.6-0.8mm diameters for a 10x lifespan extension, often lasting hundreds of hours across alloys like stainless steel 316L or copper. Clean them regularly with a wire brush, and pair with 110-125% flow rates to maintain smooth prints. This upgrade ensures reliable performance on printers like Prusa or Creality models.
Predicting Shrinkage
Sintering shrinks parts by 10-25% linearly, depending on the alloy, so precise prediction is essential. The Virtual Foundry provides detailed profiles and scaling guidelines: for bronze, scale models by 1.08-1.12x; copper requires 1.14-1.20x; stainless steels need 1.16-1.25x. Print test coupons, sinter them, measure results, and adjust iteratively. Use slicer profiles with 70-100% infill and 0.12-0.2mm layers to promote uniform contraction. These tools make compensation straightforward for beginners.
Preventing Warping
Warping plagues green parts from uneven cooling due to the filament’s thermal properties. Employ 70-100% infill with rectilinear patterns for structural integrity, allowing gas escape during debinding. Disable part cooling fans or limit to 0-20%, maintain a 40-65°C bed, and enclose the printer for 30-50°C chamber temperatures. Add brims with 8-12 lines and 120-150% first-layer width on glue-stick prepped glass beds. These steps yield flat prints ready for sintering.
Mastering Sintering Cycles
Sintering failures like porosity or cracking stem from improper temperatures. Follow The Virtual Foundry’s alloy-specific cycles: bronze sinters at 1625°F for 5 hours after debinding to 900°F; stainless 316L at 2250°F with hydrogen or vacuum. Use kiln ballasts like alumina for support, ramp slowly (e.g., 100°F/hr debind), and verify with mass checks. Test small cubes first to calibrate your setup.
Community Insights from 3,000+ Users
The Virtual Foundry’s 3,000 users share proven tips on forums: start with bronze for ease, use Filawarmer to prevent jams, and set 135% initial flow. Reddit successes highlight 0.6mm nozzles and enclosed printing for 90% solid copper parts. Always print coupons and iterate profiles for your printer.
Key Takeaways and Next Steps
Key Takeaways
Mastering metal infused filament 3D printing with Filamet™ boils down to selecting accessible materials, proper post-processing, community engagement, cost efficiencies, and customization. Beginners achieve dense, pure metal parts up to 95% density after sintering, with uniform 5-10% shrinkage across dimensions. This approach leverages standard FDM printers, hardened nozzles, and PLA-like settings for reliable results. Real-world applications span prototyping, jewelry, and aerospace components, backed by The Virtual Foundry’s decade of expertise serving 3,000 customers.
Next Steps for Success
Begin with Filamet™ Copper at $143/kg for its forgiving printability and low abrasion on entry-level setups; it yields stunning jewelry and prototypes post-sintering. Invest in a kiln for thermal debinding and sintering to transform green parts into functional full-metal components, essential for 80-95% density. Join The Virtual Foundry’s vibrant community for troubleshooting, tips, and shared innovations in metal, glass, and ceramics. Calculate your ROI: desktop metal printing cuts costs by 80% versus outsourcing, with parts produced in hours not weeks. Finally, explore custom filaments tailored for unique alloys like Inconel or radiation-shielding tungsten to match specific needs. Start today to unlock affordable metal 3D printing.
Conclusion
In this guide, you have unlocked the essentials of metal infused filament 3D printing. Key takeaways include selecting the ideal filament like stainless steel or bronze infused PLA, optimizing printer settings for dense and flawless prints, mastering simple post-processing techniques for a genuine metal sheen, and navigating common pitfalls with safety-first troubleshooting.
This knowledge empowers hobbyists to produce professional-grade parts using just your existing setup. No need for costly industrial gear.
Ready to elevate your projects? Grab a spool of metal infused filament today, fire up your printer, and experiment with your first design. Your gateway to stunning, weighty creations awaits. Transform imagination into tangible metal masterpieces now.